The W trek, Torres Del Paine
Duration: 5 days / 4 nights
Distance: Around 75 km
Direction: West to East (highly recommended)
Timing: Late October
Difficulty: Moderate – not technically hard, but long days and unpredictable weather. Expect your feet to get battered by loose, rocky terrain often through streams or climbing up waterfalls.
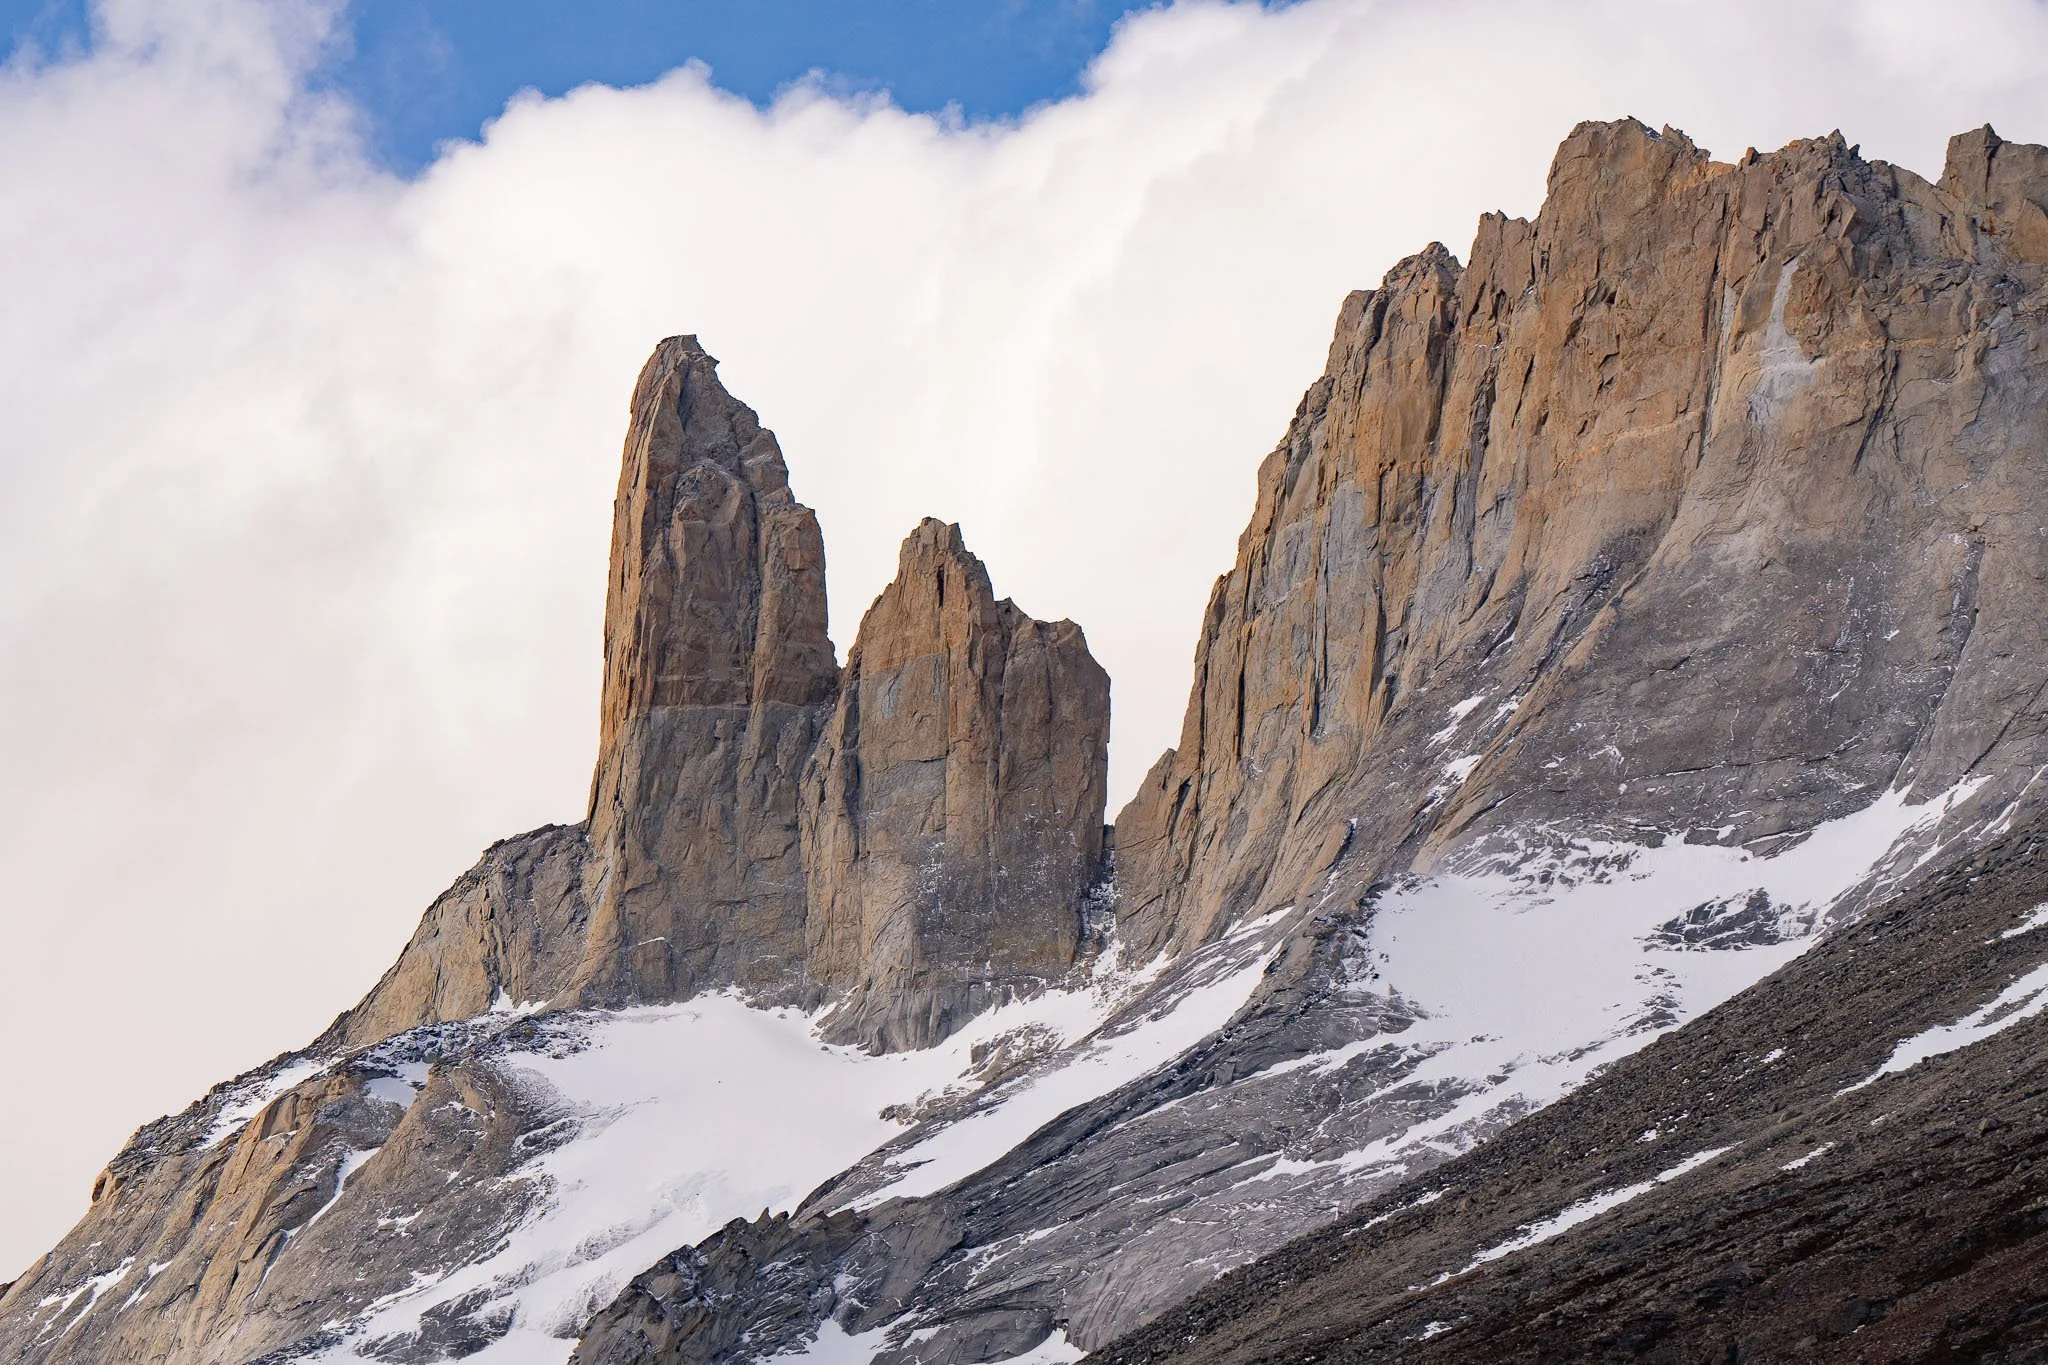
I’ve recently finished hiking the W Trek in Torres del Paine Patagonia and it completely lived up to the hype. The five days brought a mix of highly dynamic weather and consistently amazing scenery that makes you feel both tiny and alive. I did the trek with hubby and we walked west to east, staying at Refugio Grey, Refugio Paine Grande, Camp Frances, and Camp Central. It’s a route that builds beautifully, from blue glaciers to lake to mountain, and ending with a spectacular sight beneath the iconic Torres peaks.
If you’ve ever thought about trekking in Patagonia, this is the one to do! It’s not the hardest hike, but the rewards are immense. We completed the hike self-guided, at our own pace and found that the tracks were very well marked making it accessible to both seasoned hikers and beginners.
If you’re planning to do it, here’s what the experience was really like, plus all the details I wish I’d known before starting.
TABLE OF CONTENTS
Day 1: Paine Grande to Refugio Grey
Distance: ~11 km (5 hours)
Elevation Gain: ~300 m
Route: Paine Grande → Refugio Grey
Stay: Refugio Grey – comfortable dorms, good food and bar.
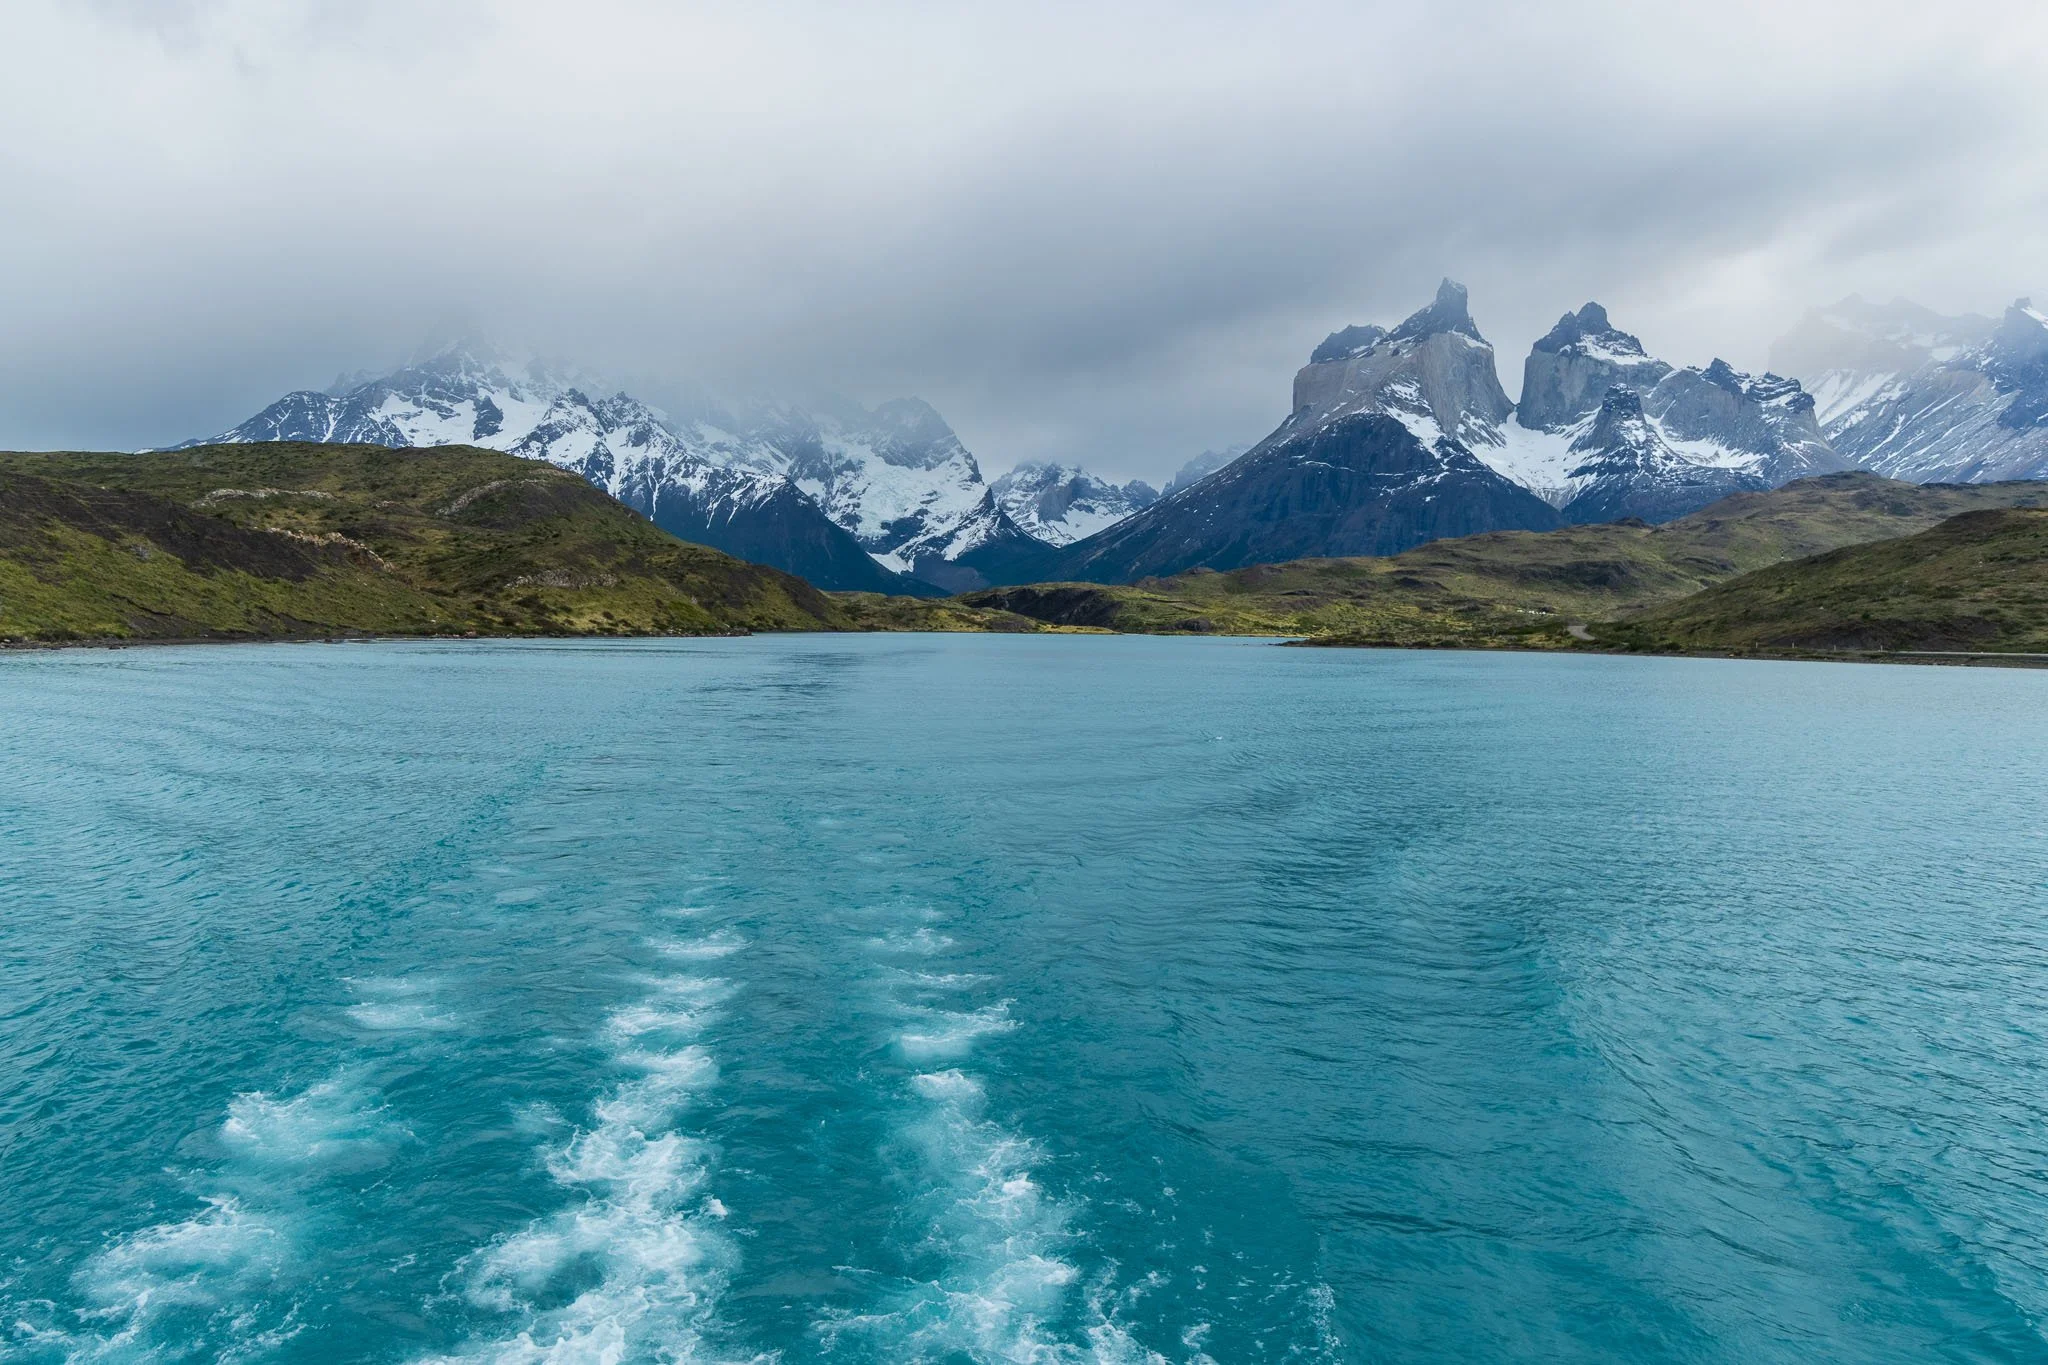
The day begins with a 7am bus from Puerto Natales to Pudeto, followed by the catamaran across Lake Pehoé to Paine Grande. Even before setting foot on the trail, the turquoise water and jagged peaks visible from the top deck of the catamaran already felt so surreal and we were so excited for the adventure.
Once we disembarked at Paine Grande, the first climb toward Refugio Grey immediately set the tone as we were introduced to strong wind gusts, rain, open ridges, and constant views of the Andean peaks all within the first hours on the trail - my first real taste of Patagonian wilderness. Along this section of the track, expect undulating terrain with constant short climbs and descents. The trail alternates between pebbly paths, rocky steps, and sections near the viewpoints can feel slippery, especially on waterfall tracks.
By early afternoon we arrived at Refugio Grey, feeling exhilarated from the start of the trek and next days to follow. On check-in, we were given a welcome drink voucher and headed to the bar for a well-earned Pisco Sour. It’s the classic Chilean cocktail, made with pisco, fresh lime, simple syrup and a light foam of egg white, and it hit perfectly. While at at the bar, unexpectedly some chill jazz was playing in the background which made the whole arrival feel even more rewarding.
Day 2: Grey Glacier and back to Paine Grande
Distance: ~11 km (5 hours)
Elevation Loss: ~300 m
Route: Refugio Grey → Paine Grande
Stay: Refugio Paine Grande, one of the busiest stops on the route, so expect crowds but solid facilities.
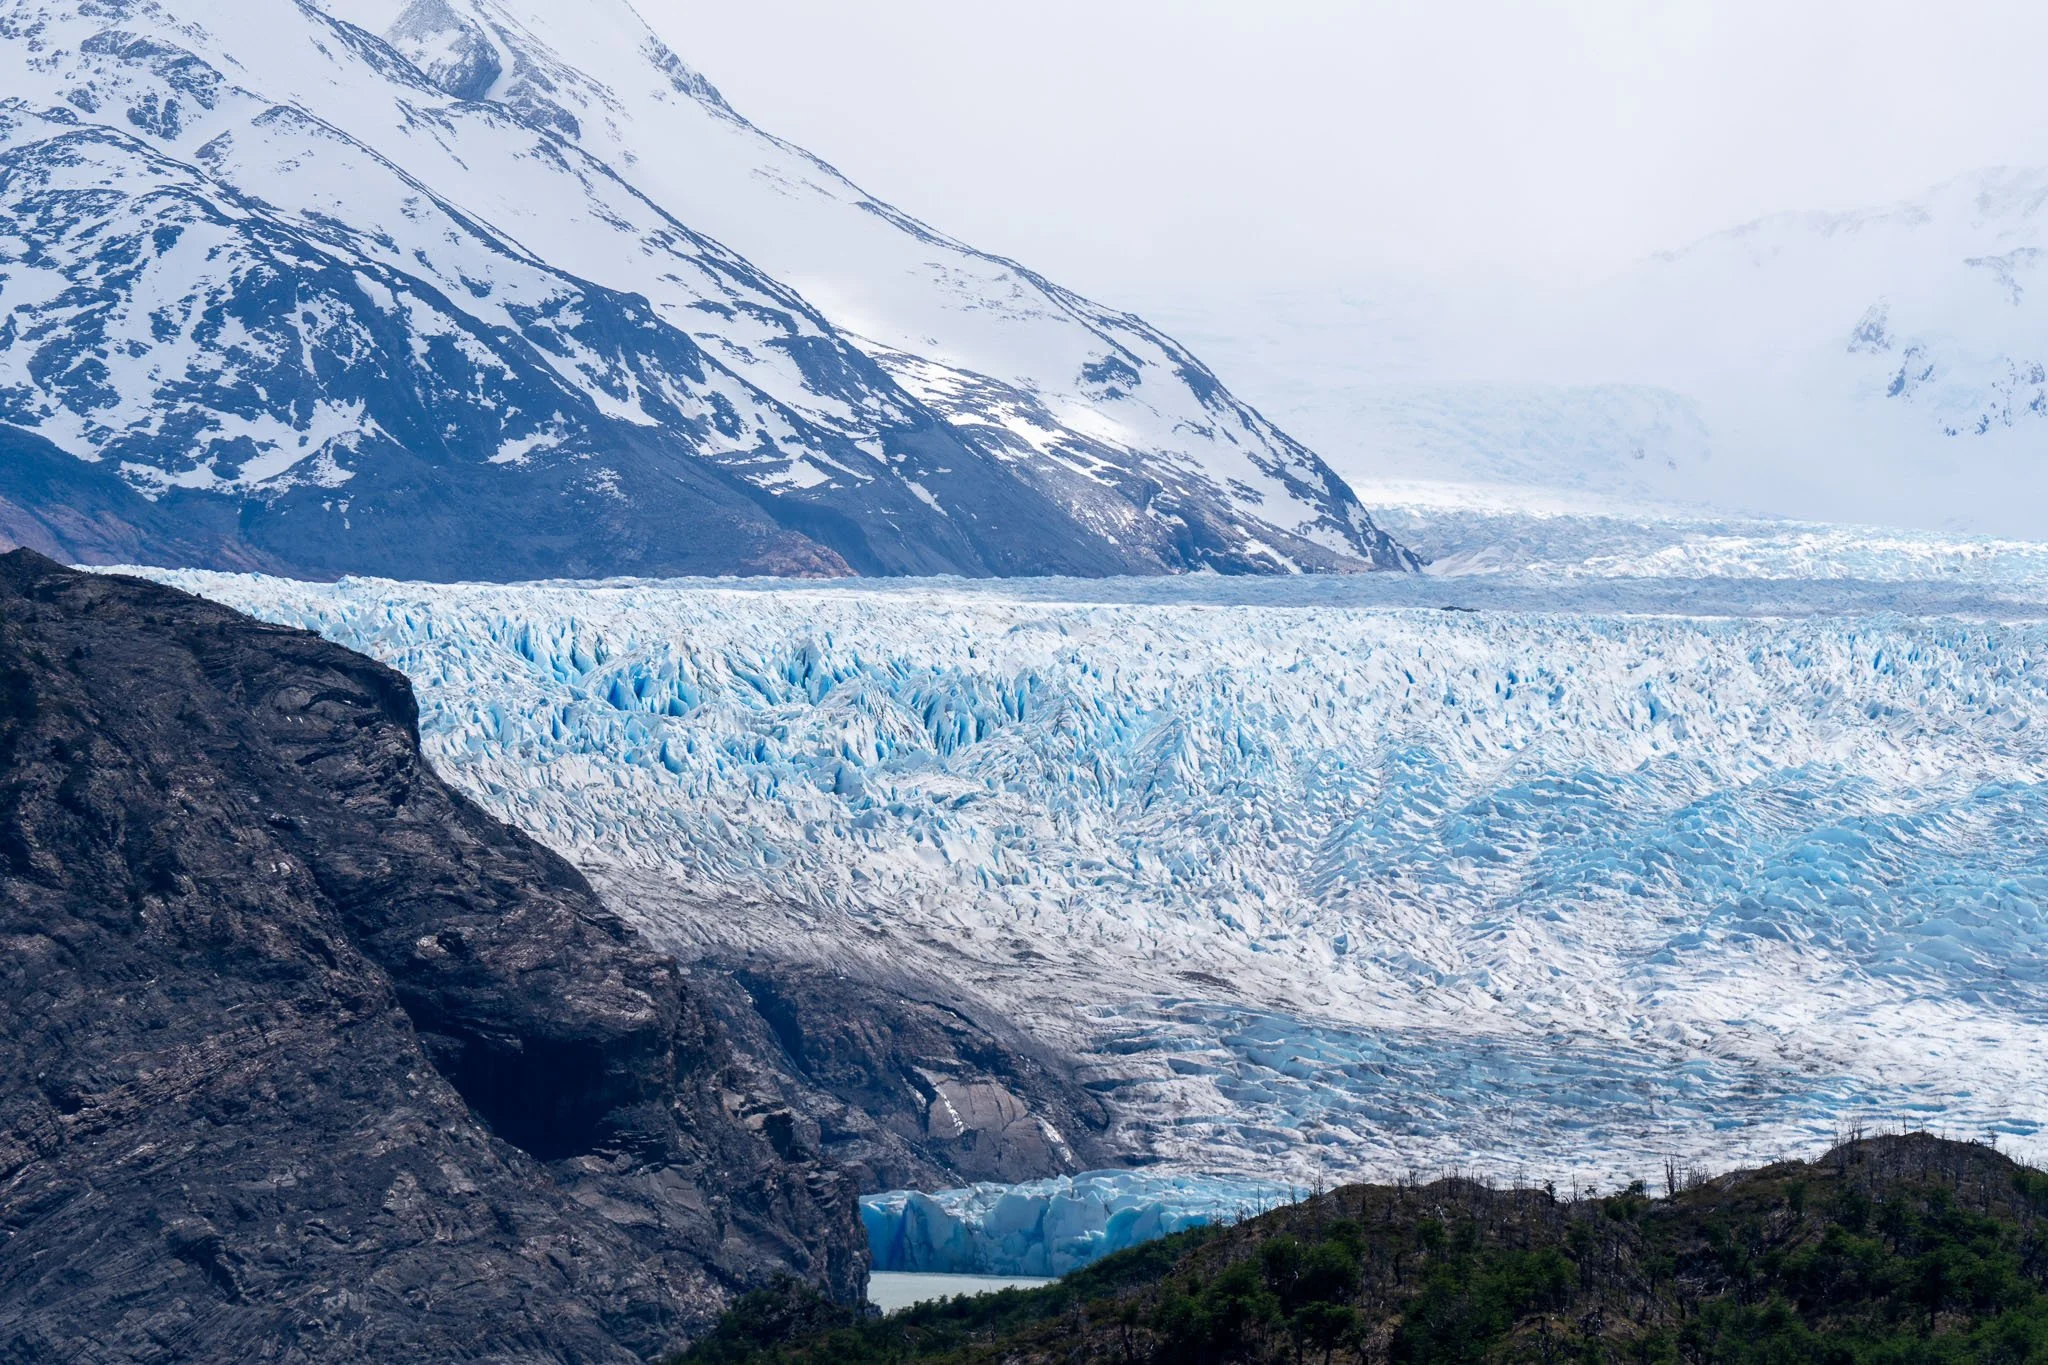
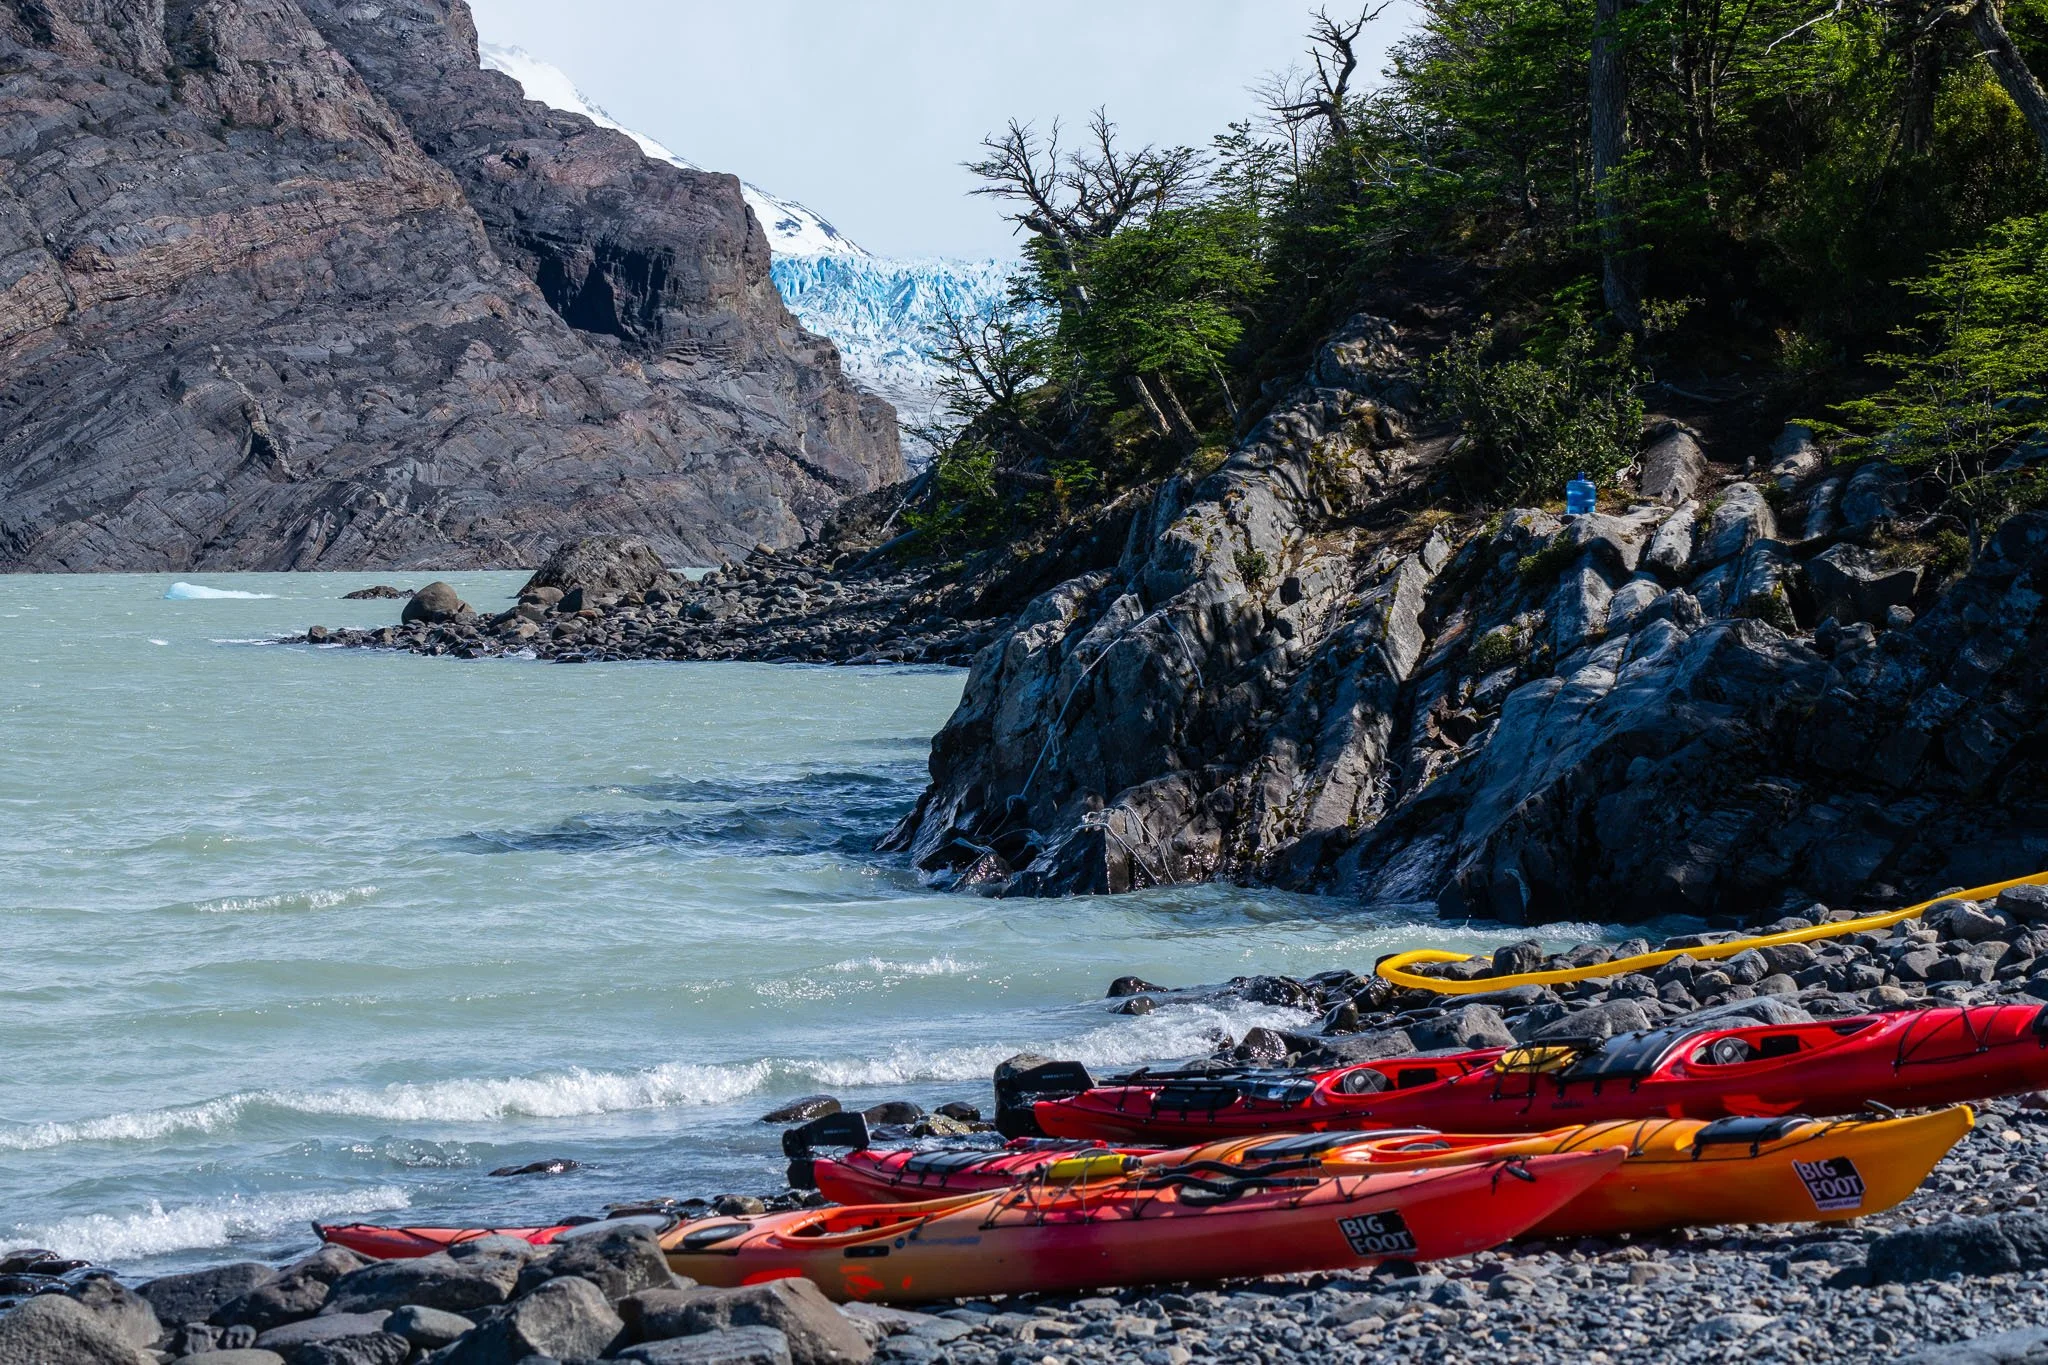
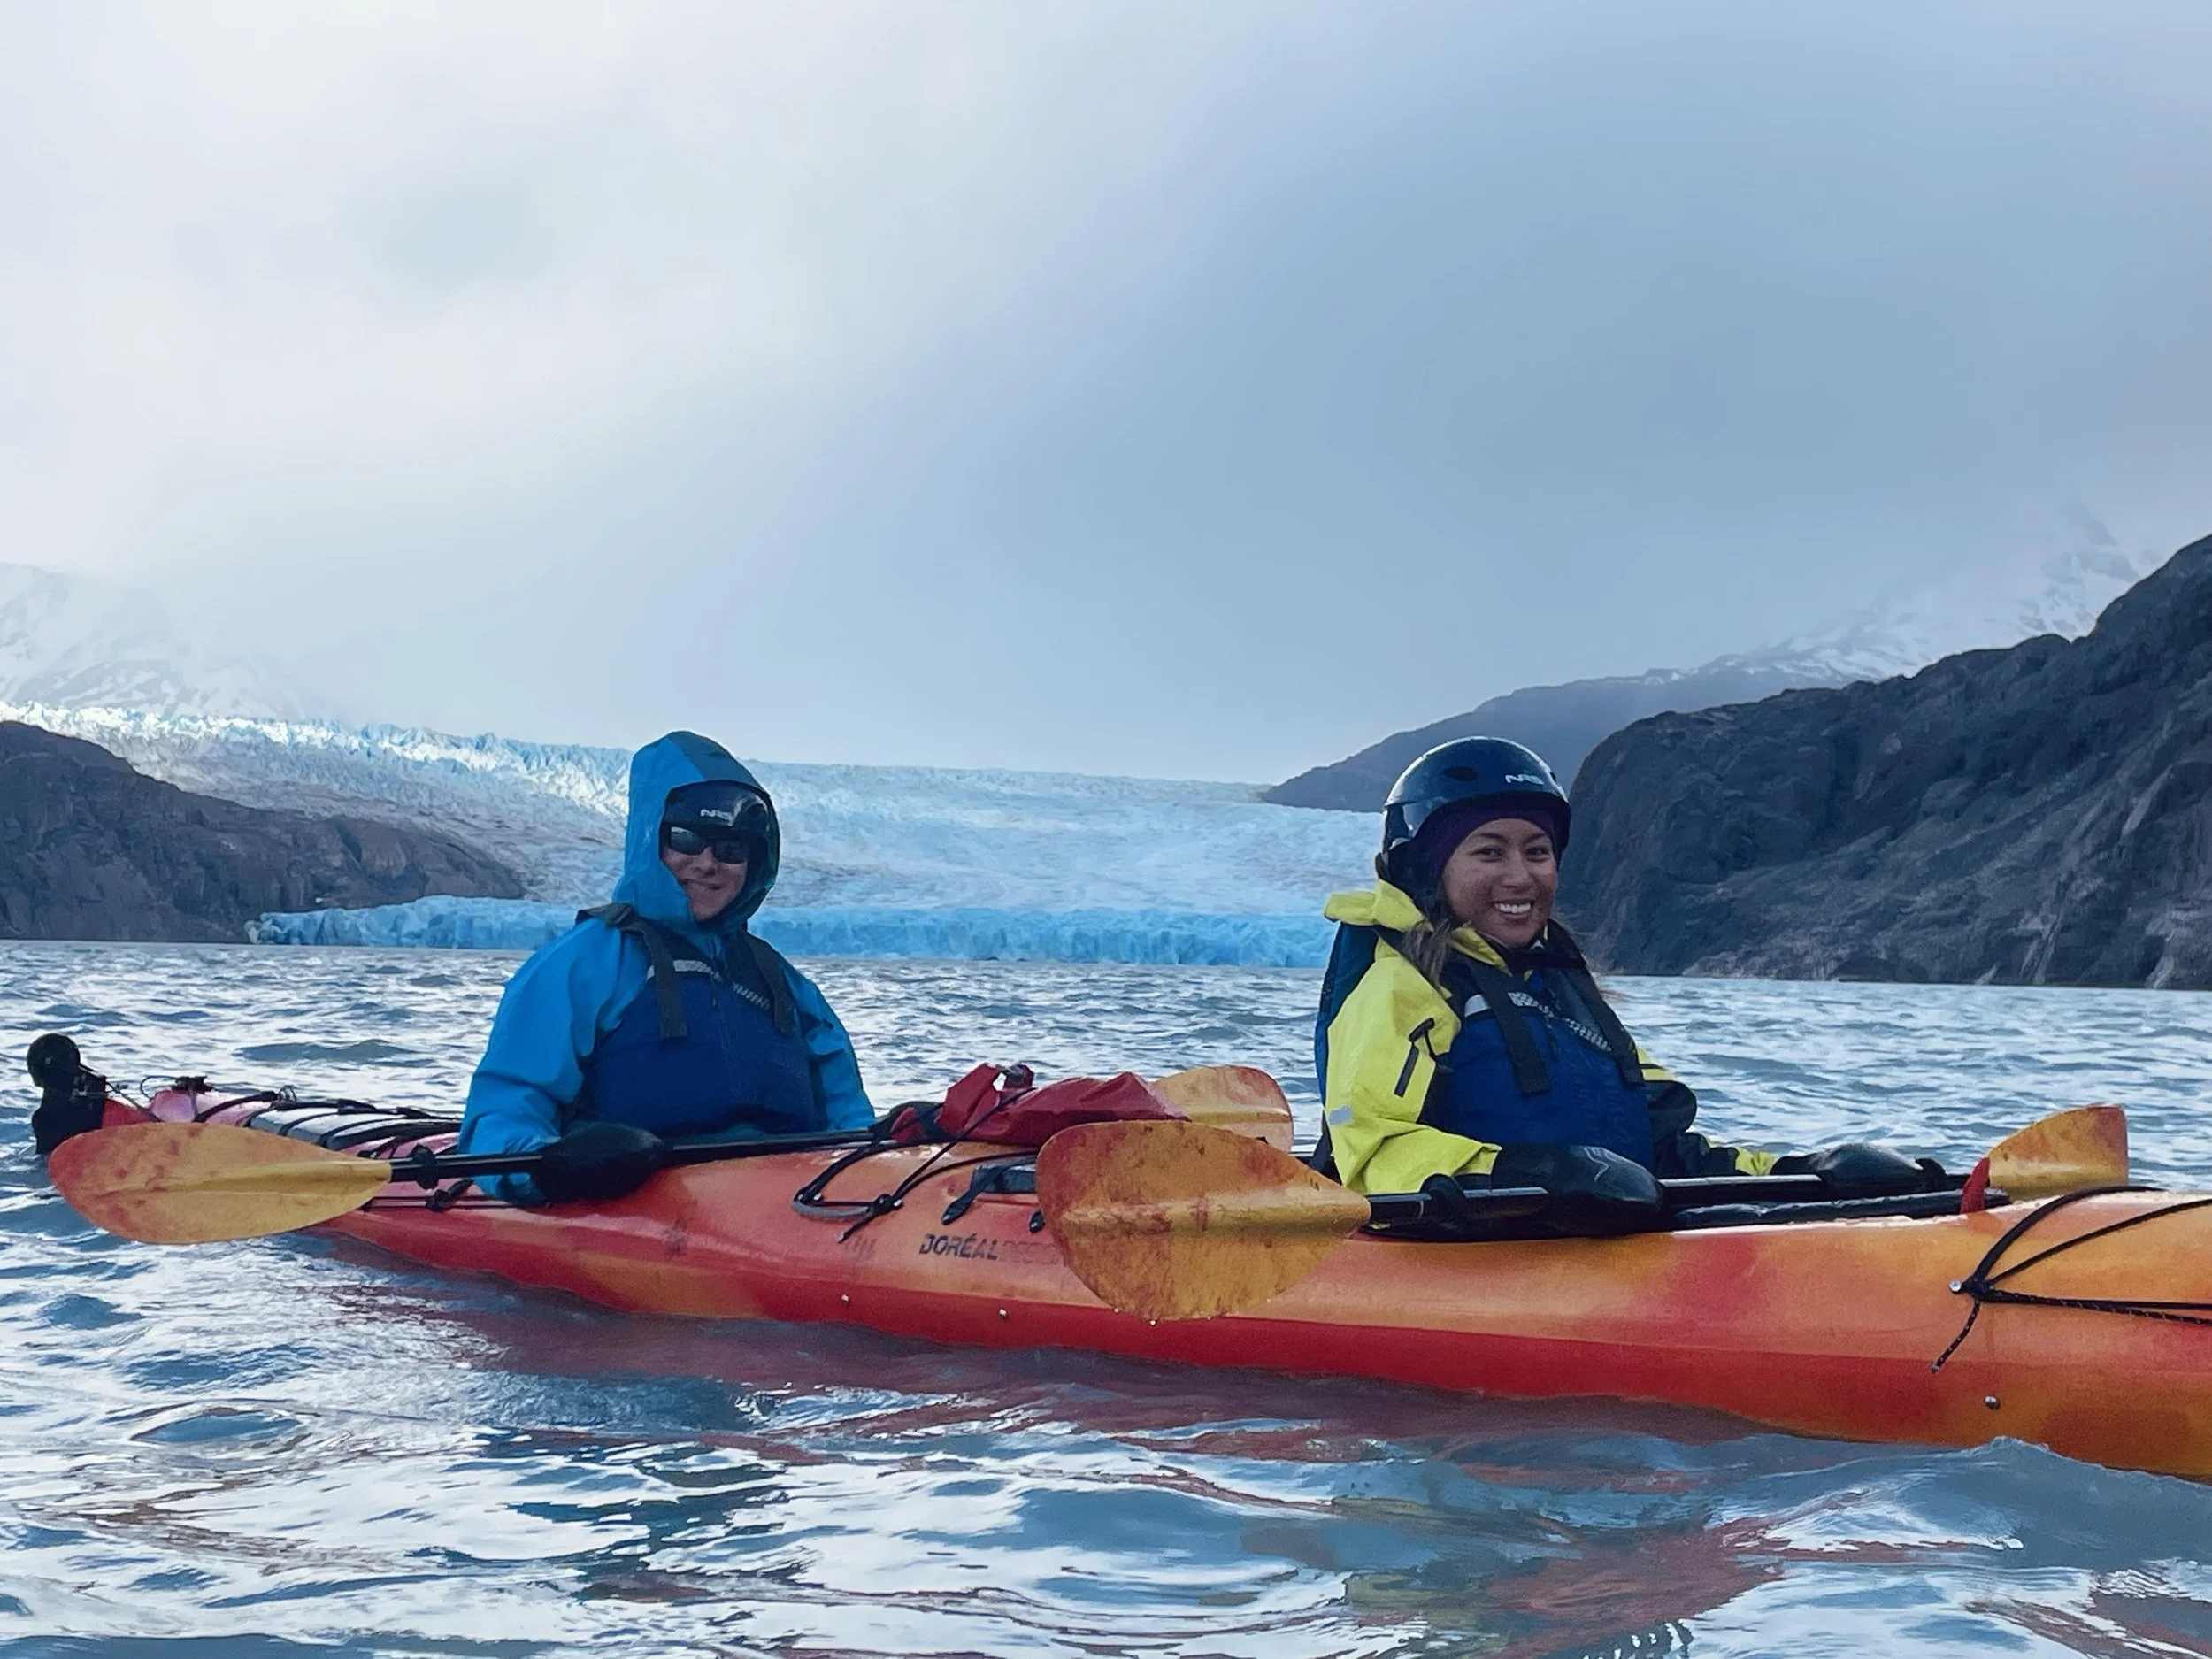
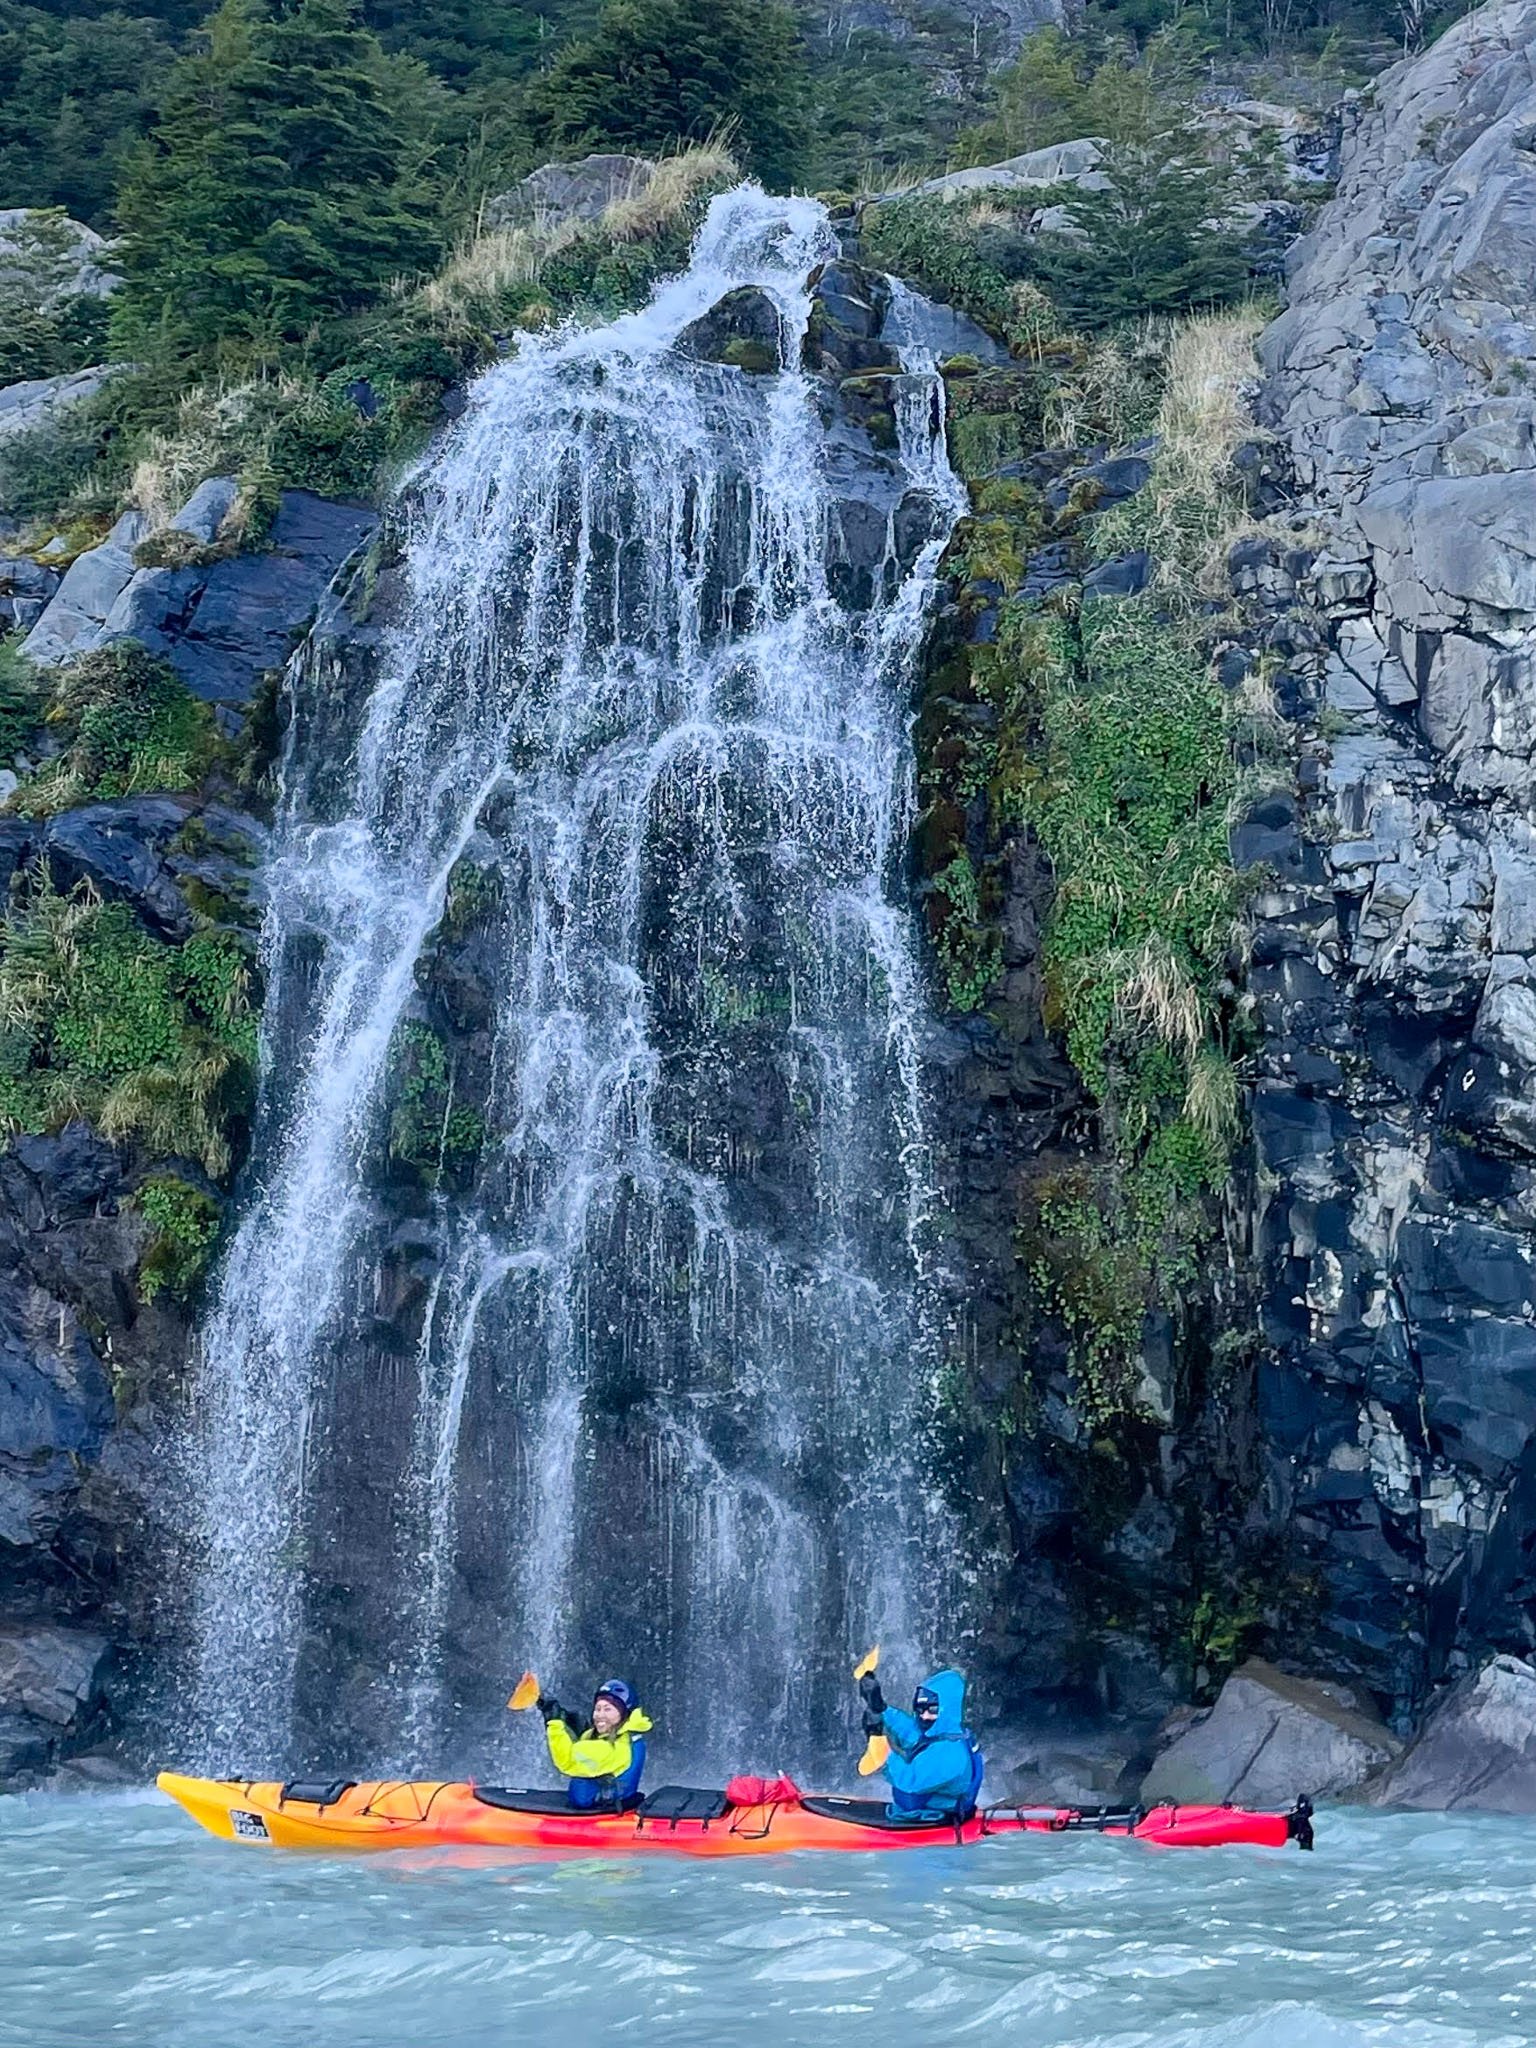
Day 2 at Refugio Grey began with a side quest we’d booked in advance, a 2.5-hour kayak expedition on Lake Grey to get up close to the glacier. We were meant to start right on 8am, but strong winds were rolling in and the guides had to decide whether it was still safe to go. For a few minutes it felt as if the whole thing might be called off but fortunately the wind came down just enough and we got the green light to go ahead. We suited up in thick neoprene and waterproof layers, thick gloves and boots still damp from the day before, and after a safety briefing pushed off into the choppy swell of Lake Grey. You don’t need kayaking experience for this trip - the ocean kayaks are pretty steady and the guides are there to make sure you’re safe. Dodging icebergs, the experience felt raw and sometimes unsettling but it felt exactly like Patagonia and so much fun!
Once we finished the early morning water activities, we returned back to the refugio to pack our gear and set off for the next section of the trail. Despite what I had read before the trek, the return hike on the same route didn’t feel noticeably faster on the descent. The path is a mix of pebbly sections, loose rocks and short, sharp climbs, so even on the way back it still demands attention and steady footing.
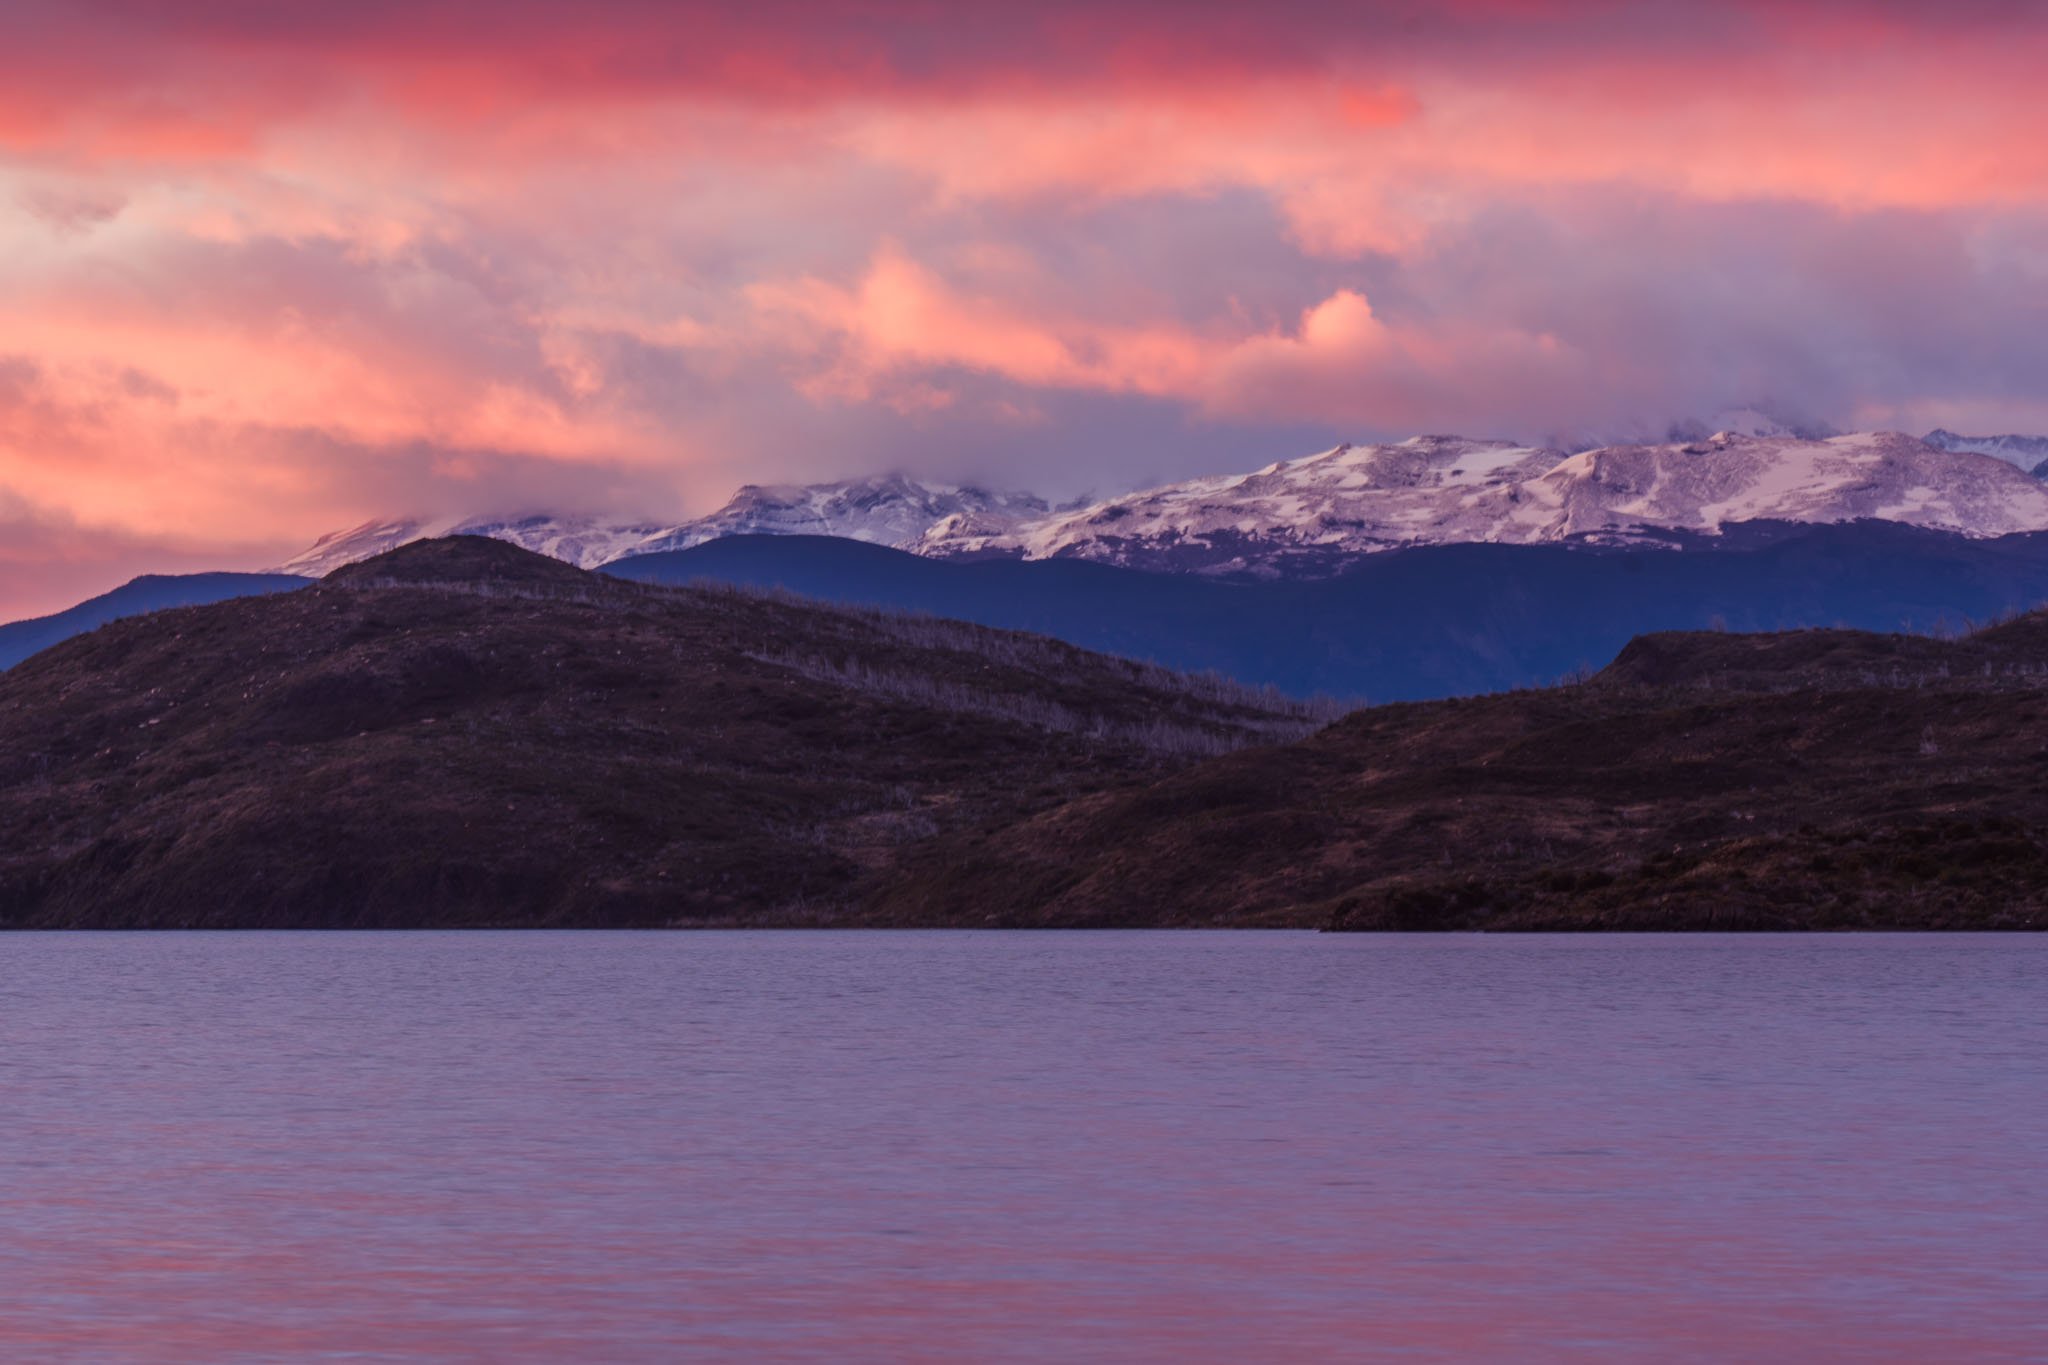
We reached Paine Grande by mid-afternoon. The refugio is one of the largest on the W and sits on an open plain surrounded by peaks making it a perfect viewpoint to watch the sun set over the mountains, and sunrise the next day.
Day 3: Valle Francés and Camp Frances
Distance: ~17 km
Elevation Gain: 500–700 m
Route: Paine Grande → Valle Francés → Camp Frances
Stay: Camp Frances - intimate, forested, quieter than the bigger refugios
This is typically considered to be the longest and challenging day of the W-Trek. We set off later than planned and were seriously considering skipping the side trip altogether by the time we had reached Italiano. Fatigue had set in by this point in the trek.
Once we reached Italiano, we made the call to continue ahead to Camp Frances, mentally preparing ourselves for a smaller “w” version of the trek rather than the full capital “W.” But once we checked in, dropped our heavy packs and sat down for a short rest with a Pisco Sour welcome drink in hand, the day shifted. The simple relief of moving without weight made everything feel possible again. By 2:30pm we were heading back along the short link track to Italiano, ready to attempt the climb into Valle Francés after all. Note; the trail to Mirador Británico officially closes at midday, but we quietly slipped past since we were only aiming for Mirador Francés.
Because we deviated from the typical day route, I haven’t included duration on this day.
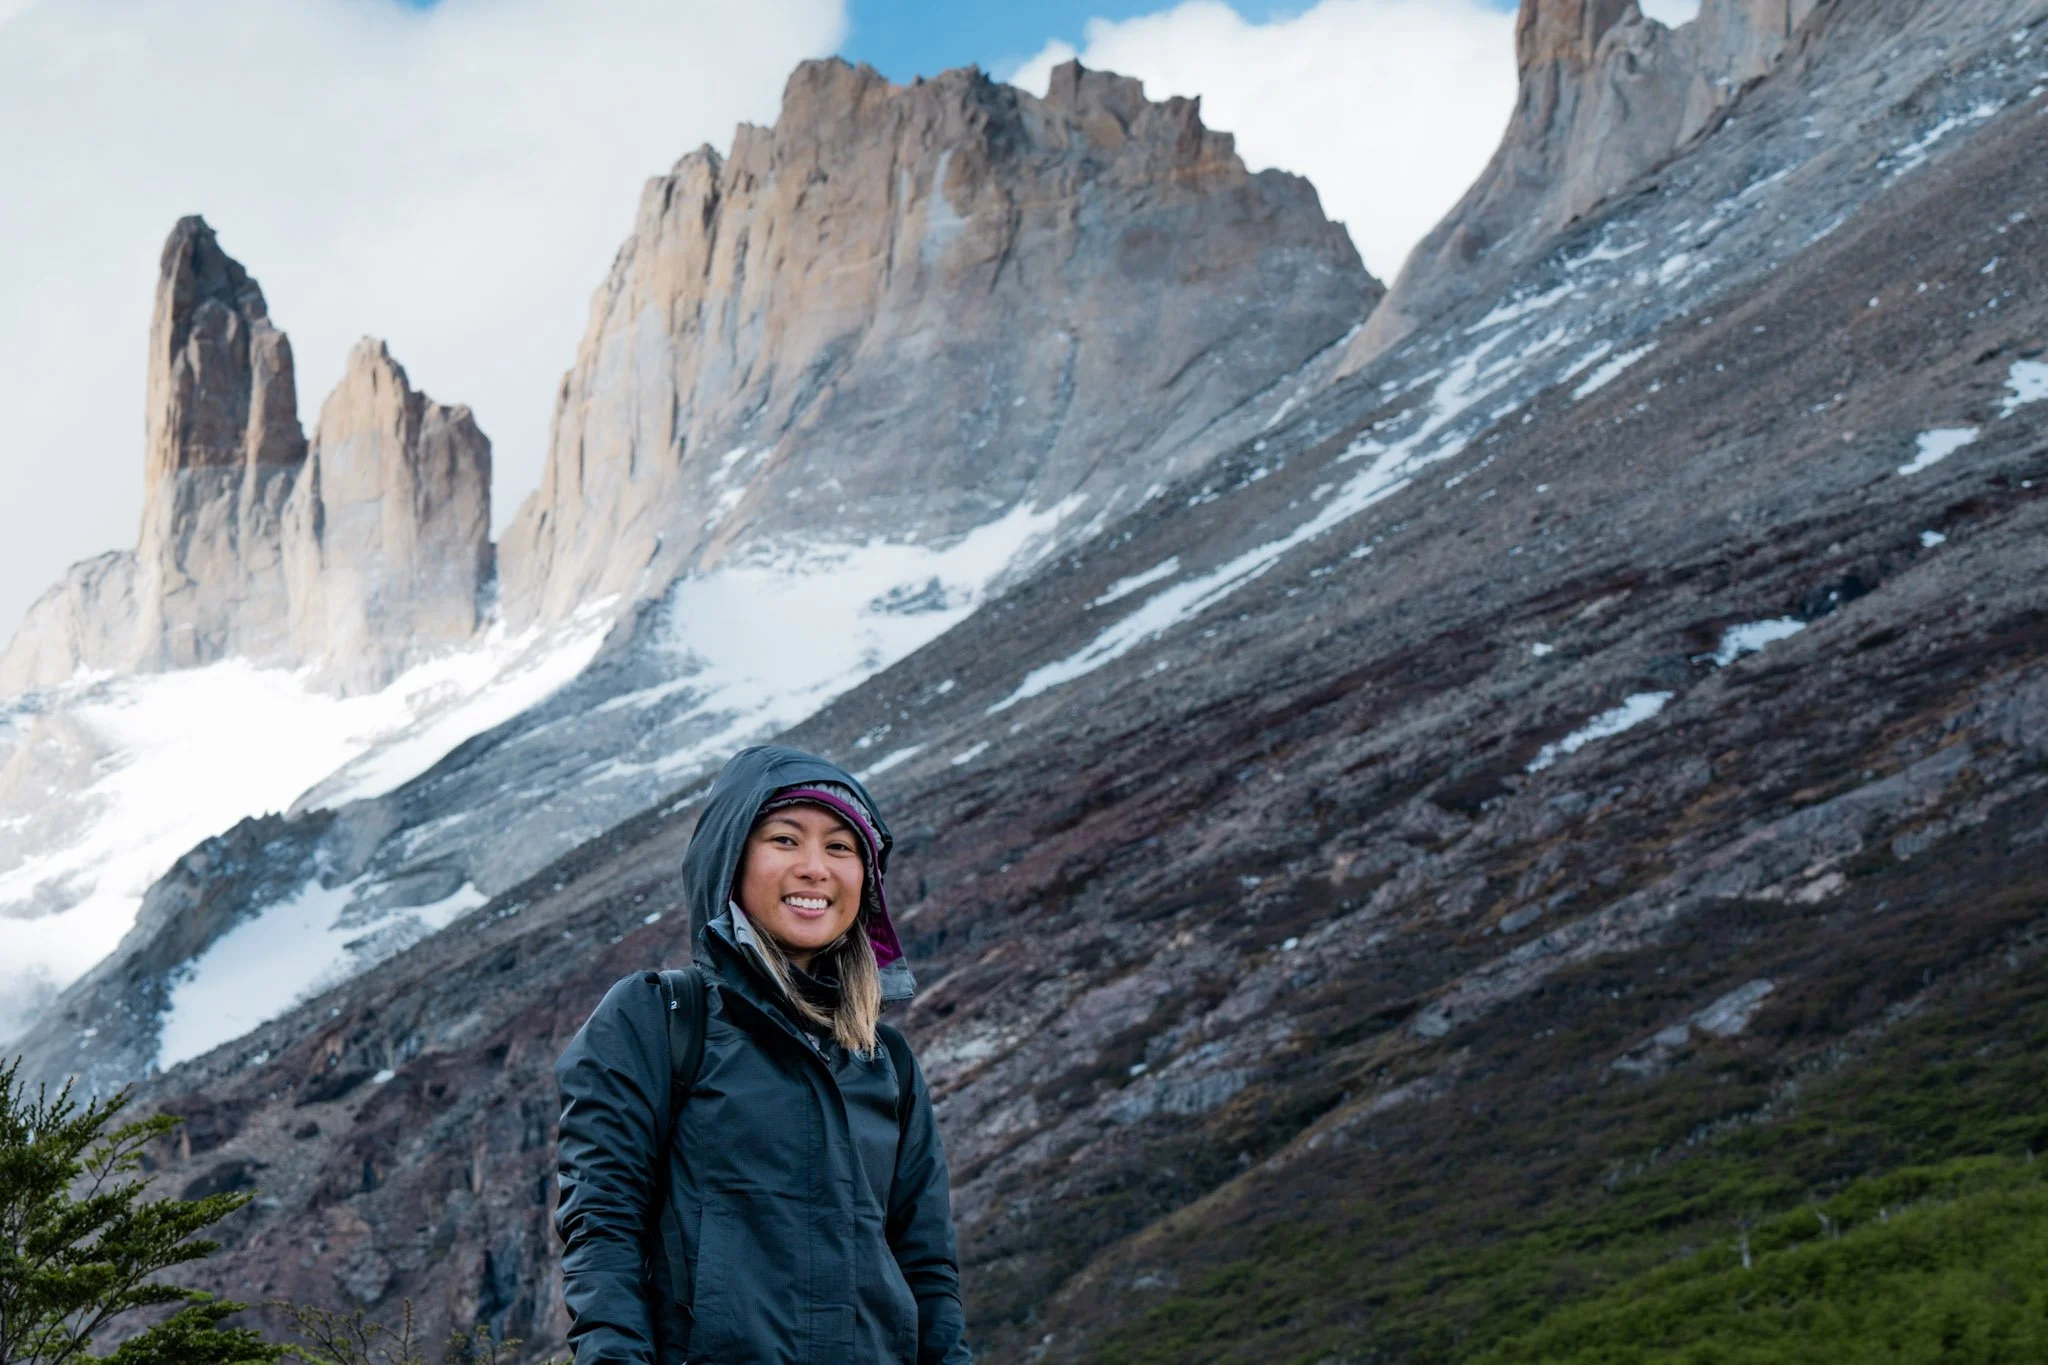
This section easily became one of my favourite parts of the entire W. From Italiano, the trail rises steadily through shaded forest before spilling out into a wide, rocky valley. Above the tree line the terrain turns technical. The path steepens, the rocks loosen, and every foot placement matters. But the scenery intensifies just as quickly. Sheer granite walls and glaciers tower overhead and it feels like you’re surrounded by a dramatic amphitheatre where you can hear a deep crack and echo of avalanches in the valley. It felt so rewarding reaching Mirador Francés, a complete 360-degree panorama that made pushing on to Británico unnecessary for us that afternoon.
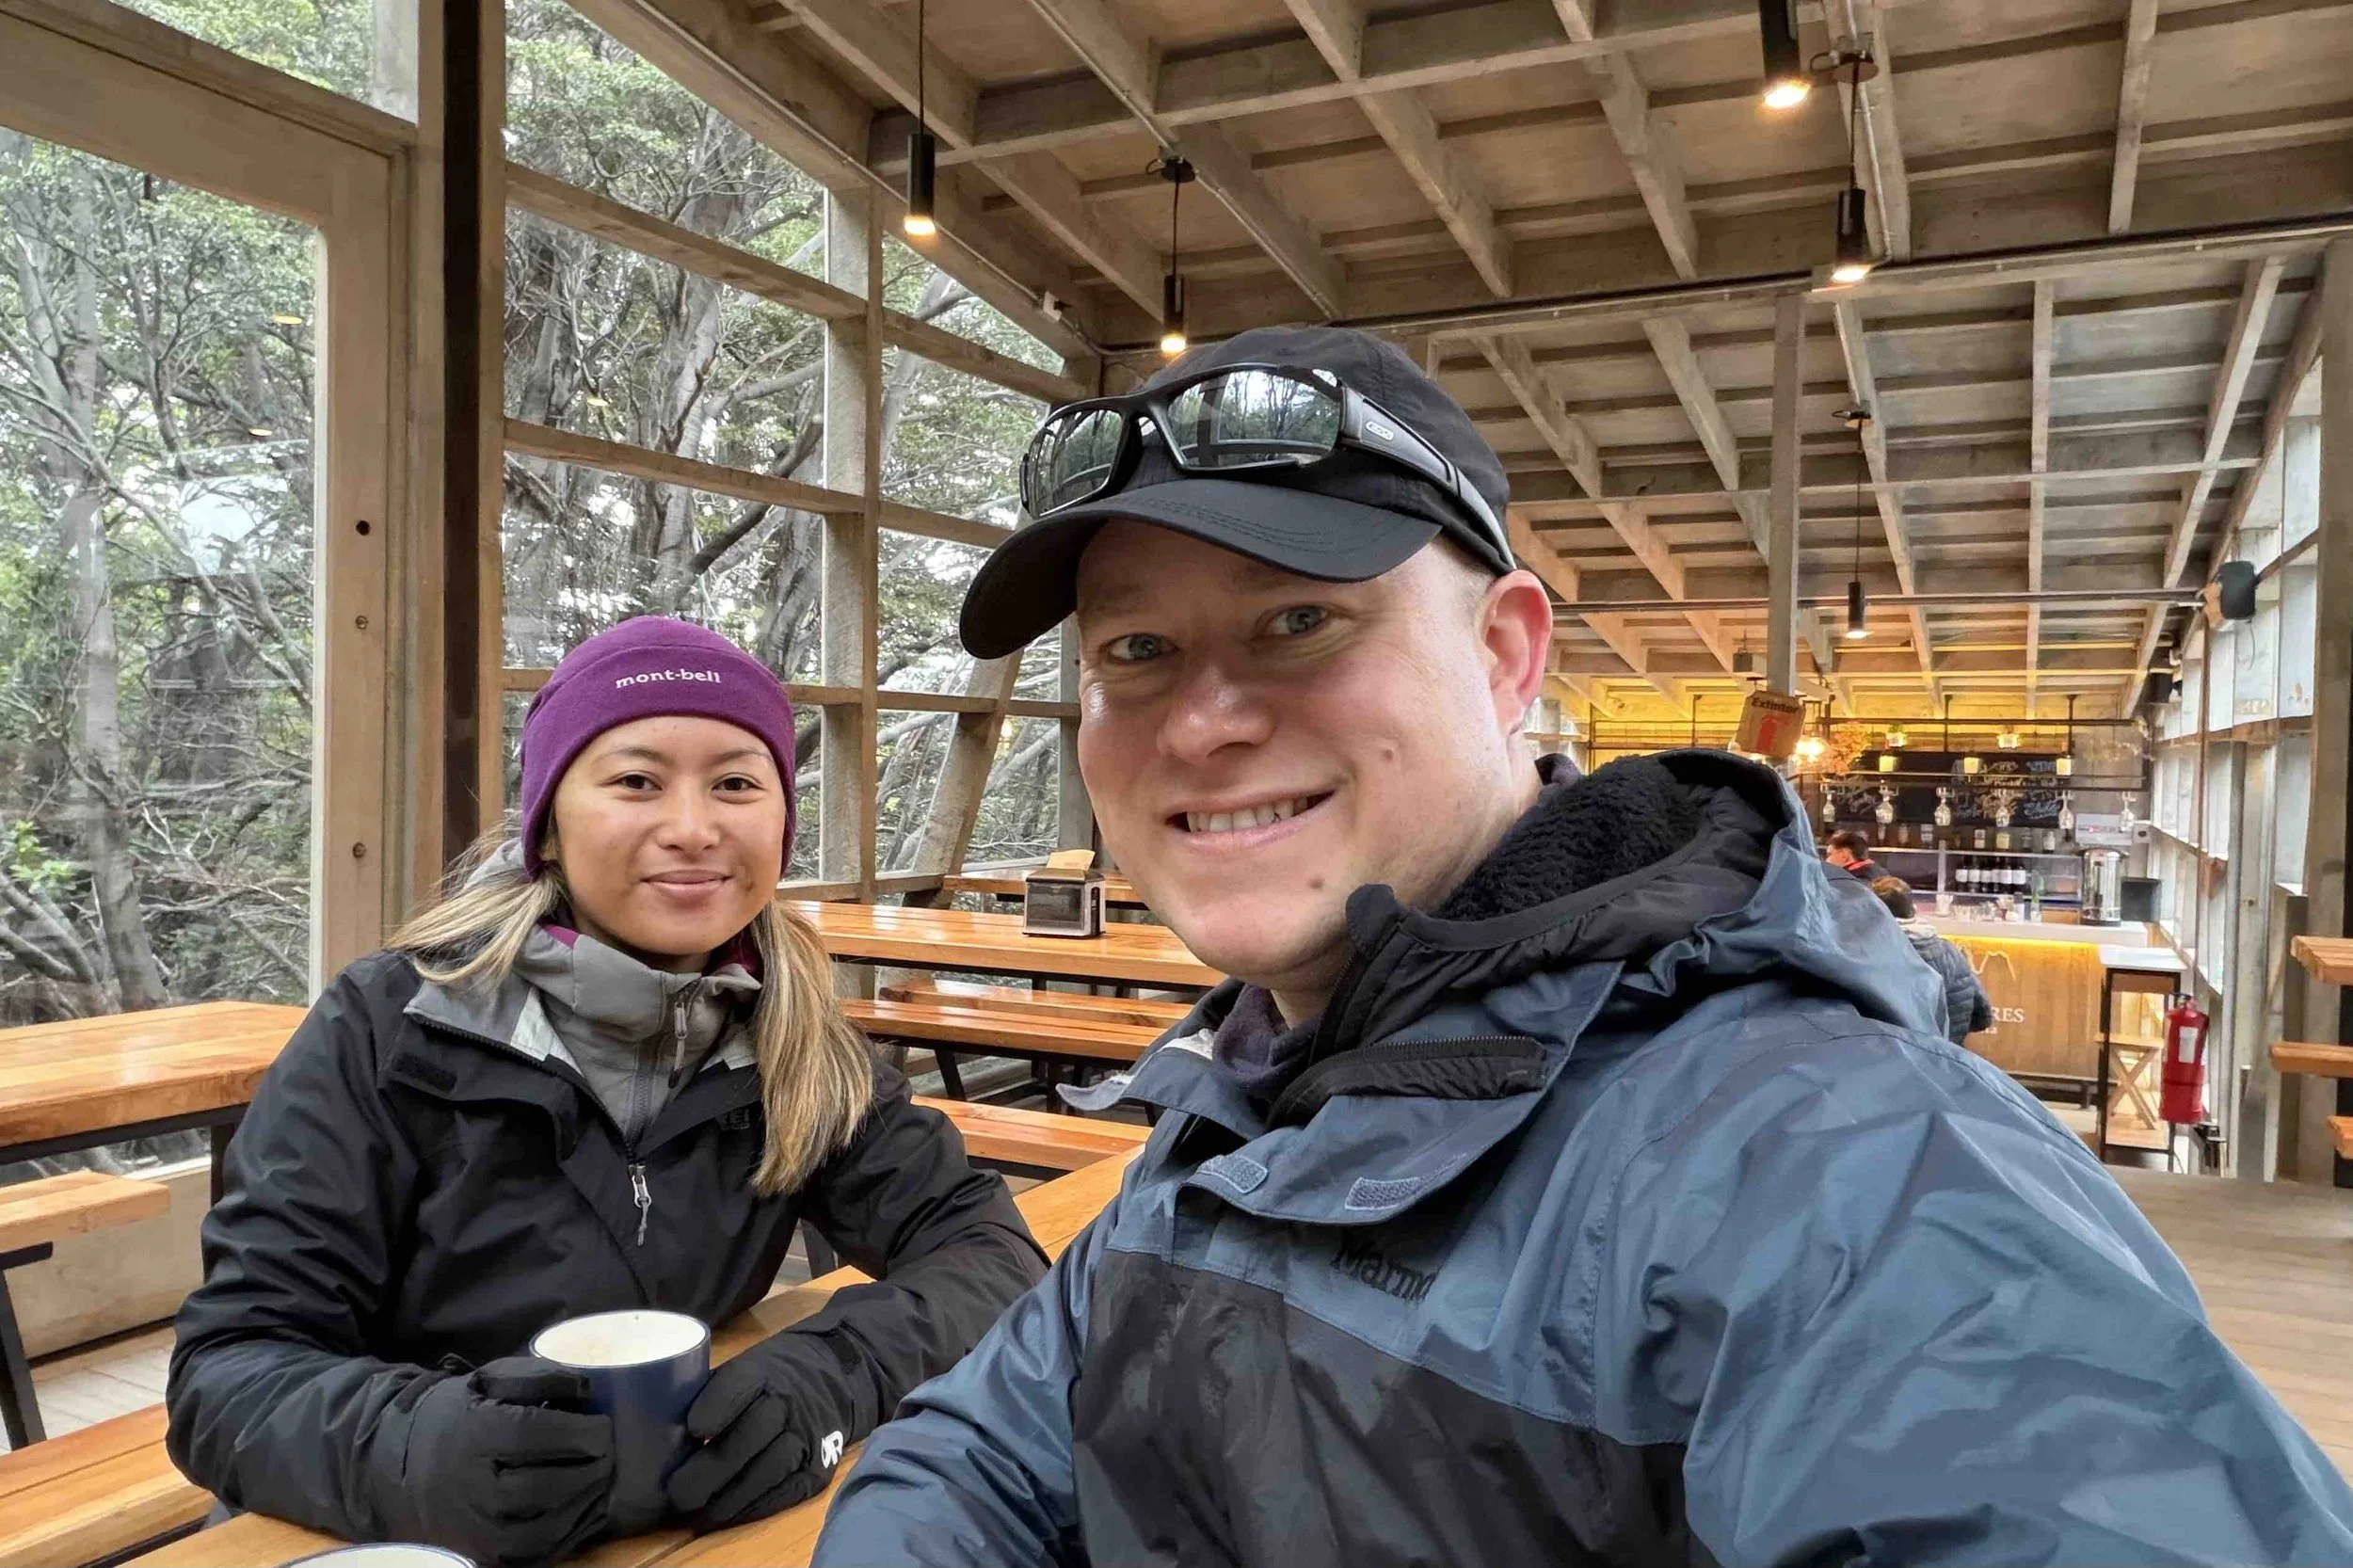
By the time we descended and returned to Camp Frances, we were ready for a warm dinner at the dining hall and a well-earned rest in our tent. Camp Frances has a peaceful forest feel, tucked among the trees with tents on raised wooden platforms.


Day 4: Frances to Central
Distance: ~17 km (5–6 hours)
Elevation: Rolling terrain
Route: Camp Frances → Camp Central
Stay: Camp Central – well-organised, nice restaurant, and the excitement of trekkers about to see the Torres.
This section felt very long but scenic. For most of the day, the trail followed the base of the Cuernos and the deep blue of Lake Nordenskjöld, passing open grasslands and wind-swept ridges. I saw condors gliding overhead and passed through fields dotted with wildflowers.
The terrain undulates rather than climbs, so it’s less intense but still tiring after several days on the trail. I reached Camp Central in the late afternoon, so ready for an early night before the final push.
When we originally made our booking, I was disappointed that we weren’t able to get availability at Camp Chileno - this is typically the recommended location for the final night if you want to do a sunrise hike to the base of the towers (It’s 2.5 hours) whereas Camp Central is an additional 2.5 hours away. However, for me personally it turned out really well. Staying at Camp Central meant that the heavy-weighted hike ended on this day.
Day 5: Final climb to the Torres base
Distance: ~18 km (7–8 hours)
Elevation Gain: 900 m
Route: Camp Central → Mirador Torres (return)
Transport: The final bus back to Puerto Natales leaves 8pm from the Information Centre
Ahead of the final morning, we made the call to skip the infamous sunrise mission to the base of the towers. With the added distance - and not being confident enough with trekking the route in pitch darkness - a later start simply made more sense. The information centre at Camp Central was also displaying live weather updates showing low visibility for dawn. Sure enough, sunrise was completely fogged over and most trekkers who left Chileno around 4am waited in freezing conditions with the towers entirely hidden.
We began our ascent at a more sensible hour, around 6am. Tip: ask the Refugio restaurant staff the night before about early breakfast options. They often offer a pre-packed breakfast or an earlier seating specifically for Torres hikers, since most people begin the climb just before sunrise.
The first part of the trail on the final day follows a sheltered forest path with steady elevation gain before climbing through loose rock and transitioning to climbing waterfalls. After about 2.5 hours, when you reach Refugio Chileno, the terrain shifts noticeably. Expect narrow paths along the river, rocky switchbacks, and a final 45-minute scramble over unstable moraine. This section is exposed, windy and more physically demanding. Other hikers had warned us this last stretch can be brutal, steep and exposed to strong wind. However I actually found it far more enjoyable than previous days, mostly because I wasn’t carrying a full pack and could move more freely over the rocky terrain.
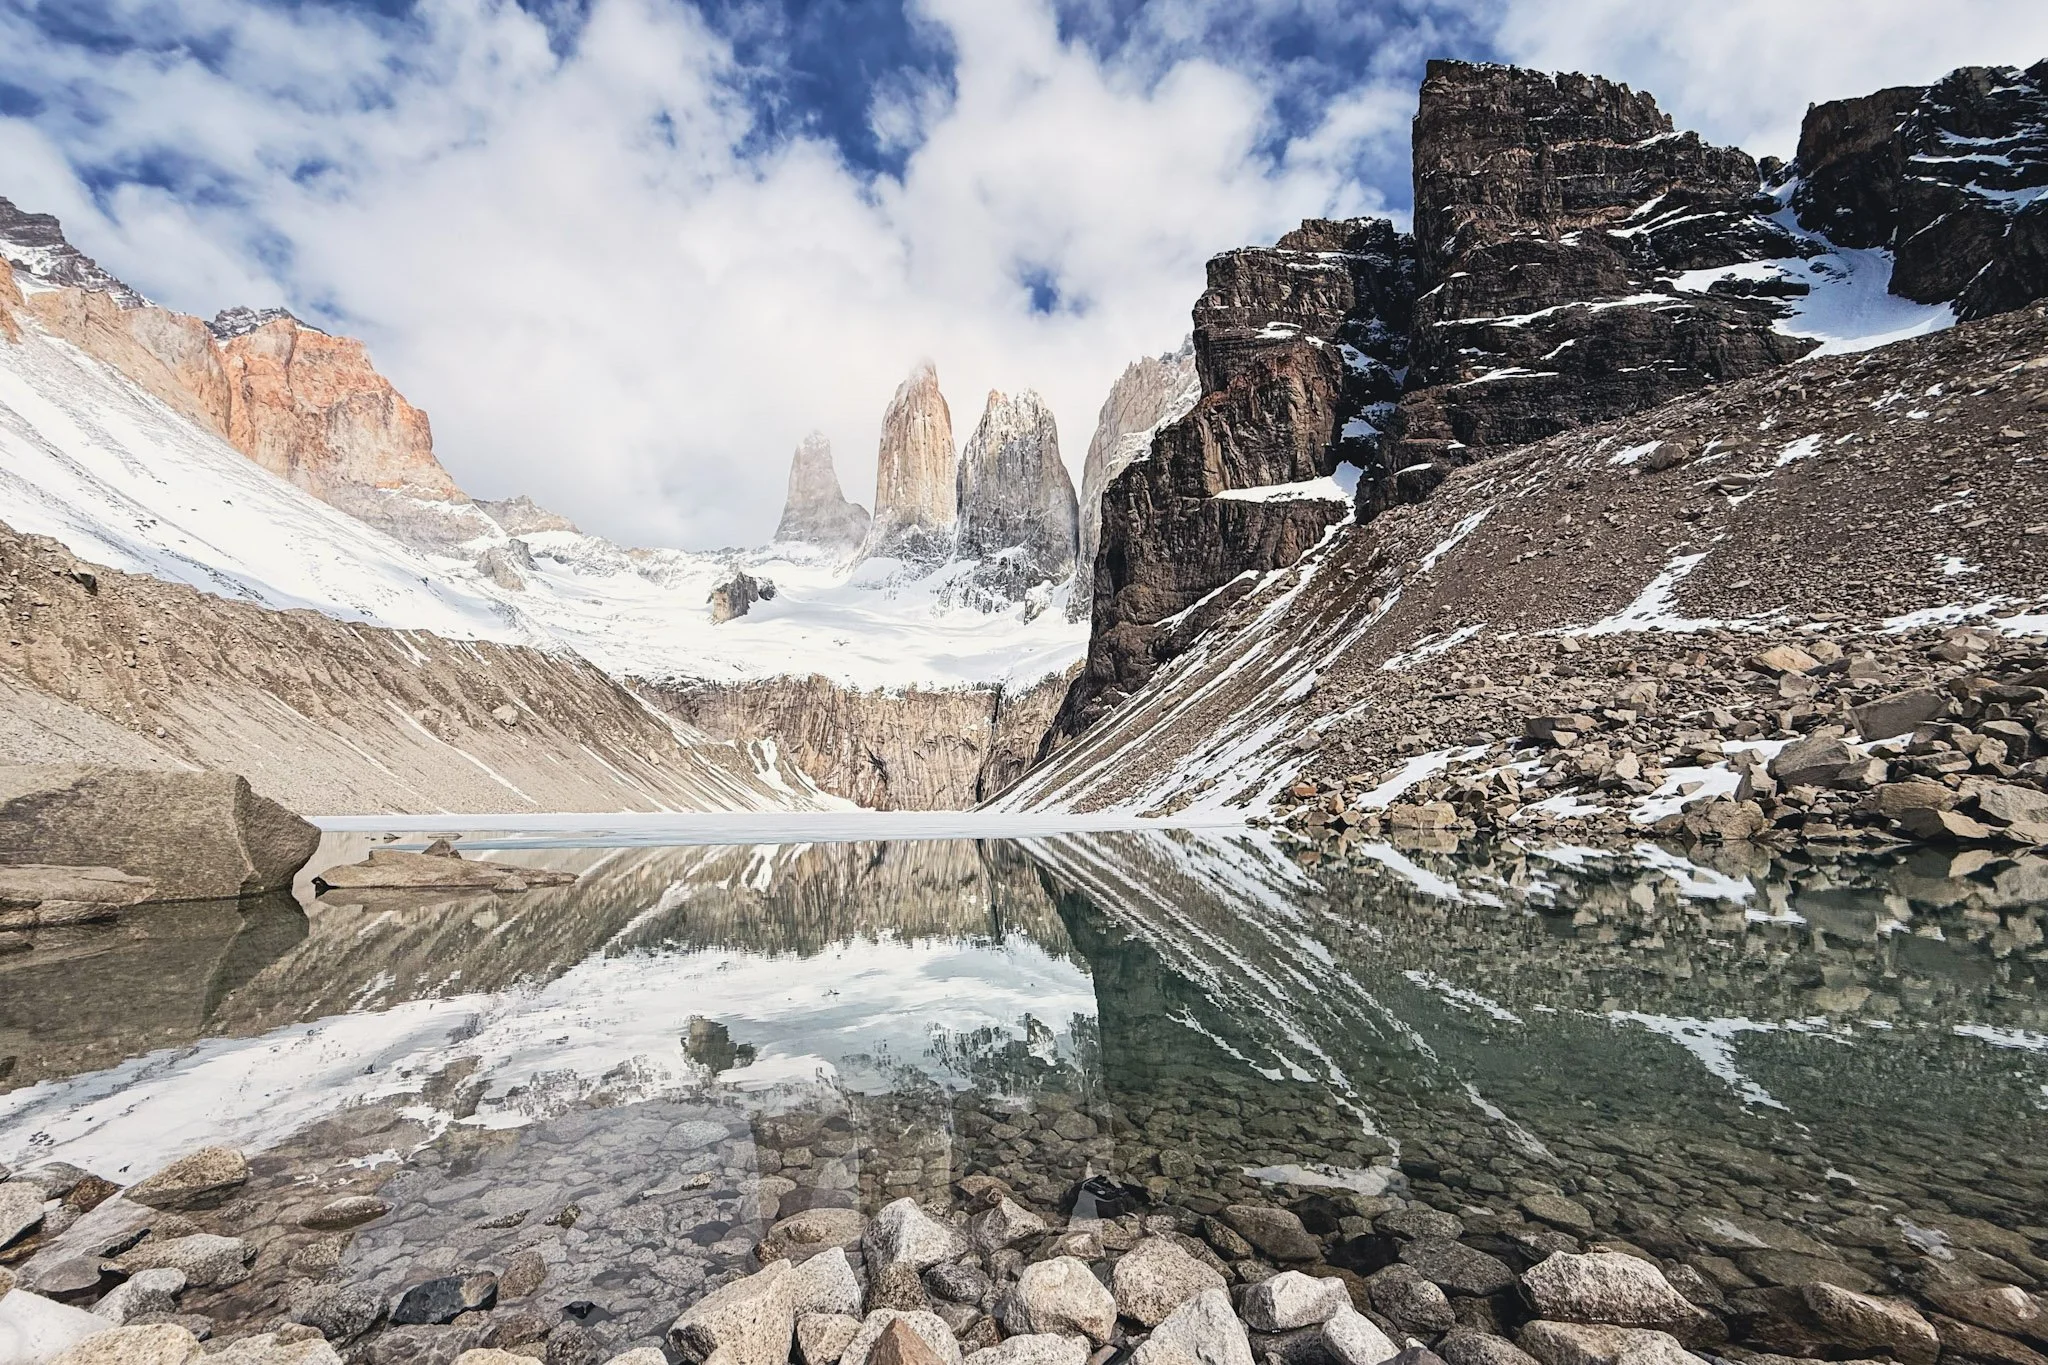
When we reached the base of the towers at the lagoon around 11am, we were incredibly lucky! The clouds thinned, lifted and then drifted away almost instantly, revealing the towers in full clarity. Even with the late start, we caught one of the clearest weather windows of the day. Patagonian conditions swing quickly, and waiting for a mid-morning break proved to be the right call.

I found the descent back to camp far more challenging than the climb. By this stage my knees were burning, even with the trekking poles taking some of the impact.
Mid afternoon we were back at Central, tired and covered in trail dust but still riding the high of seeing the towers in full clarity. Packing up our gear felt almost ceremonial, like closing the final chapter of the trek. Once everything was sorted, we headed into the refugio for a celebratory finale reward. Alongside a delicious plate of tacos, we ordered a Calafate Sour (a local twist on the classic Pisco Sour made with the tart, purple berries of the calafate bush). By the time we boarded the evening bus back to Puerto Natales, we were exhausted, content and genuinely proud of how the entire trek had unfolded.
Reflections & tips
-
When to go: The main trekking season runs from October to April. Starting the trek in late October, we found it quieter with fewer crowds at major viewpoints, yet still enough refugios and transport running to make the trek comfortable.
Duration: We did the W over 5 days and 4 nights. While it can technically be done in 4 days and 3 nights, that pace compresses the Valle Francés and the Torres climb into tighter windows. I’d only recommend the shorter version if you are comfortable with long, demanding days and unpredictable weather.
Direction: I’d strongly recommend hiking west to east. The scenery builds with each day and ends with the Torres, which feels like a natural finale.
Bookings:
• Vertice manages Refugio Grey and Paine Grande (typically night 1, 2)
• Las Torres manages Frances, Chileno and Central (typically night 3, 4)
All of these fill quickly, so book early. If you plan to eat at the refugios, it may cost more but I thought full board was absolutely worth it. The meals are great and save you from extra food weight and carrying (and cleaning) cookware.Costs snapshot (2025): Costs on the W Trek can vary a lot depending on how you book. Agencies (like the one we booked) simplify everything but will charge a premium, while booking directly with Vertice and Las Torres is cheaper if you’re willing to coordinate it all yourself. As a rough guide
Park entry is ~ $50 USD,
Bus plus catamaran transport is ~ $80 USD round trip.
Refugios with half and full board options range from $120–$180 USD per night. Full board often ends up better value than self-catering once you factor in food weight and gear rentals, and extras like transport, occasional refugio drink can nudge the budget higher, so it’s worth planning a small buffer.
Check the official websites for the latest prices.
Reading the maps: the posted distances are often off, so expect each section to take longer or shorter than the map indicates depending on weather and footing.
Weather: Patagonian wind is not an exaggeration. Expect sudden changes: strong gusts, rain, snow and full sun can all happen on the same day, multiple times!
Packing: I overpacked. Refugios provide beds, bedding and meals, so you really only need reliable hiking gear, warm layers and protection from wind and rain. Also, accommodation in Puerto Natales will store your luggage while you trek, which makes packing much easier. See my gear notes below.
-
Difficulty: The W Trek is not technically difficult, but it is rarely “easy”. The diverse mix of terrain and constant elevation changes keeps your legs working, and the weather can shift the challenge quickly. It’s challenging in a satisfying, but manageable way.
Managing weather: The trails are well marked, although often exposed, so pack layers for wind and rain along with a hat and buff for sun protection. The terrain is rarely dangerous but consistently uneven, which becomes more noticeable as fatigue sets in by day 4 or 5.
Terrain: The route moves through forest paths, loose gravel, rocky sections, mud, open ridgelines and steep moraine climbs. A pair of trekking poles will help with stability on both climbs and descents, especially useful through shallow river crossings, where the footing can get very slippery.
-
Deciding between refugios and camping comes down to how you like to hike. Refugios keep your pack light and give you an easy place to recover after long days. Camping offers more freedom and quieter evenings, but you are still exposed to wind, rain and colder nights even though the campsites provide pre-set tents, mats and sleeping bags. It mostly depends on how well you sleep in shared spaces, how much comfort you want and whether you prefer structure or a more independent rhythm each night.
Refugios:
Simple but comfortable accommodation that feels rewarding after long hiking days. Room sizes vary by location and you might end up in a shared space of 2, 6 or 10 trekkers.
Social common areas where hikers from around the world gather to rest, eat and swap stories.
Showers and heating differ between refugios, but they are generally reliable enough to warm up after a cold day.
Many refugios have small bars, and an evening drink becomes an easy post-hike ritual.
Camping:
Gives you more control over your schedule, especially if you prefer early starts or quiet evenings away from busy refugio dorms.
Offers a calmer sleeping environment for light sleepers who struggle with snoring or late-night movement in shared rooms, though wind and weather could still interrupt sleep.
Creates a stronger sense of immersion in the landscape, with campsites often feeling more remote and peaceful than the refugios.
Demands more preparation, including managing weatherproofing, keeping gear dry and staying warm during cold nights.
If you’re on a tighter budget and choose to book a basic campsite rather than the fully equipped camping areas, keep in mind that you’ll need to bring all your own gear. Unlike the platforms that come with pre-set tents, mats and sleeping bags, the bare campsites require you to carry a tent, sleeping bag, sleeping mat and any cooking equipment if you plan to self-cater. It’s cheaper, but the extra weight and setup are worth considering on a trek with long days and unpredictable weather.
Gear I used on the W-trek
Before the hike, I read countless packing lists and still ended up overpacking. After five days on the trail, this is what I actually used and would bring again. Everything else stayed buried at the bottom of my pack.
-
The Osprey Ace 50L (kids model) has been my go-to pack on previous hikes. The adjustable torso makes it easy to dial in the fit for my petite frame, the hip-belt pockets are very practical on the move, in-built rain cover easily accesible and the inner hydration sleeve fits a CamelBak without fuss.
A pair of trekking poles were absolute lifesavers on rocky descents and in strong wind. Mine were cheap knock-offs from a previous EBC trek, but they still did the job really well.
Robust rain gear is essential! I used a lightweight but waterproof jacket from REI and rain pants from Outdoor Research.
I used 2 compressible dry bags to separate my sleep gear and clothing, as extra protection for items inside my pack.
For day hikes and side quests I used a 9L Quechua daypack from Decathlon. It folded neatly into my main bag and was perfect for short walks so I didn’t have to haul my full pack everywhere, and it held my CamelBak, layers and camera gear without adding much weight.
A 1.5L Mil Spec Crux Camelbak made it easy to stay hydrated while hiking. At each refugio or campsite, we purified tap water in a wide-mouth 500 ml Nalgene using a Steri-pen before refilling.
Paw paw and moisturiser: the cold can quickly dry out your skin, and that’s never a good feeling
Sun protection: the sun can be strong even on cold or cloudy days. A hat, sunscreen and a buff are essential on exposed sections with no shade.
Mini foam seat pad: Okay maybe not essential, but very handy. It gives you a clean, comfortable place to sit during breaks, especially when carrying a heavy pack.
-
In addition to the rain gear listed under Essentials, these were the other clothing items I brought on the hike:
Macpac Geothermal base layers: top, and leggings (mainly used for sleeping). I carried two sets of tops and alternated them, which worked well for freshness and moisture control.
Arcteryx jacket mid layer
Women’s Mont jacket 700 loft: I didn’t wear this while hiking but I get cold very easily, so wearing this especially at night in camp tents saved me.
5.11 Apex hiking pants: Quick-dry, robust but lightweight fabric with very practical utility pockets - loved these
A Solbari cap with detachable neck and face coverage
My Versaliner Sensor Gloves came with both a liner and a shell, which made it easy to adjust to shifting weather and kept my hands warm and protected throughout the trail.
Merrell Moab mid-length Gore-Tex boots, my usual choice for hiking. They handled the weather well, but in hindsight I’d consider a more robust boot for the endless pebbles and loose rocks on the trail. Trekking poles helped, but the combination of uneven terrain and a heavy pack still left my feet aching by the end.
Macpac merino socks were a small but important comfort on the trek. They kept my feet warm, dry and cushioned through long days on uneven terrain. The merino handled moisture well, so even after days of sweat, my feet never felt damp.
-
Sleeping bag liner: optional, but having my own layer made the provided camping bags feel cleaner and more comfortable.
Earplugs: Refugios get noisy with snoring, creaky bunks and hikers packing up before dawn.
Headlamp: Necessary for early starts, late-night bathroom trips and moving around dark dorms without disturbing others.
Archies slides: A bit bulky to carry, but completely worth it for showers and giving my feet a break in the evenings.
Compact towel: A quick-dry microfiber towel
-
Anker power bank 20,000 mAh. Access to power is limited on the trek.
Camera gear: I brought my Sony a6700 with two lenses: the 10–20mm for landscapes and the 70–200mm for condors circling the valleys and glacier details you simply can’t capture with a wide lens. It was the right balance of versatility without carrying an entire kit.
Lightweight Leofoto mini tripod when I wanted to take long exposures or iPhone selfies
iPhone 16 Pro: I used it far more than expected. Quick to reach, and perfect for mid-hike photos when I didn’t want to stop and pull out the Sony.
Magsafe blutooth shutter release for iPhone: a tiny item, but incredibly useful for travel selfies
-
Extra clothes. I barely used half.
Extra toiletries like bottled facewash. Although the bottles were low-key, next time I will only bring the equivalent Aesop sample sachets for each day.
Would I Do It Again?
Absolutely! The W Trek isn’t the hardest hike I’ve done, but it’s one of the most rewarding. If you’re looking for a trek that combines comfort, challenge, and incredible landscapes, this is it. Go west to east, pack light, and embrace whatever weather Patagonia throws at you. You’ll finish sore, smiling, and wanting to go back.